
Moving out of a rental property can be both exciting and stressful. Along with packing your belongings and organizing the move, tenants must ensure the property is left in good condition. One important requirement often included in rental agreements is pest control. In a region like the Gold Coast, where warm temperatures and coastal humidity create ideal conditions for pests, end of lease pest control is a common requirement before the final property inspection.
Following a proper pest control checklist can help tenants avoid last-minute problems, meet lease obligations, and improve the chances of receiving their full bond refund. This guide provides a complete checklist that Gold Coast tenants can follow when preparing for end of lease pest control.
Why Pest Control Is Required at the End of a Lease
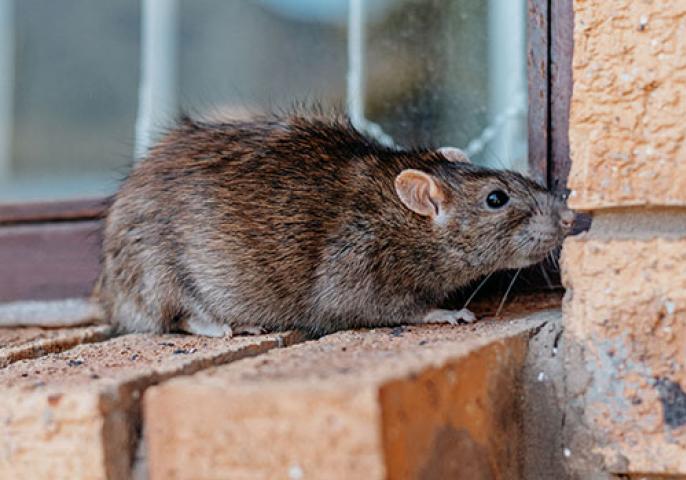
Pests such as cockroaches, ants, spiders, fleas, and rodents are common in many homes across the Gold Coast. Even well-maintained properties can experience pest activity because of the climate and surrounding environment. For this reason, many landlords and property managers include pest control clauses in their lease agreements.
If pets have lived in the property, flea treatment is usually mandatory before the tenant moves out. The purpose of end of lease pest control is to ensure the property is clean, hygienic, and safe for the next tenants. Completing pest control treatment before the final inspection helps avoid disputes and prevents deductions from the security bond.
Step 1: Review Your Lease Agreement
The first step in the pest control checklist is to carefully review the lease agreement. Some rental contracts clearly state that professional pest control is required at the end of the tenancy, especially if pets were present.
Check whether the agreement requires:
- General pest treatment
- Flea treatment for pets
- Professional pest control documentation
Understanding these requirements early allows tenants to schedule pest control services before the moving date.
Step 2: Inspect the Property for Pest Activity
Before arranging pest control treatment, tenants should inspect the property for any signs of pest activity. Early detection can help prevent larger infestations and ensure the treatment process is effective.
Common signs of pests include:
- Cockroach sightings in kitchens or bathrooms
- Ant trails near food storage areas
- Spider webs in corners or ceilings
- Rodent droppings in cupboards or storage areas
- Flea bites or itching caused by fleas
Checking both indoor and outdoor areas helps identify potential pest issues that need treatment.
Step 3: Deep Clean the Property
A thorough cleaning is an important step before pest control treatment. Cleaning removes food crumbs, grease, and dust that may attract pests. It also allows pest control products to work more effectively.
Focus on cleaning the following areas:
- Kitchen surfaces and cupboards
- Floors and carpets
- Bathrooms and laundry areas
- Inside appliances such as ovens and refrigerators
- Window sills and storage spaces
A clean environment makes it easier for pest control technicians to treat the property.
Step 4: Vacuum Carpets and Upholstery
Carpets and furniture often hide dust, food particles, and flea eggs. Vacuuming these areas helps remove potential pest habitats before the treatment process.
Important vacuuming areas include:
- Carpets and rugs
- Sofas and upholstered furniture
- Mattress edges and pet bedding
- Corners and baseboards
After vacuuming, dispose of the vacuum bag or empty the container outside the property to prevent pests from returning.
Step 5: Remove Food and Waste
Pests are often attracted to leftover food and garbage. Before pest control treatment, remove all food items and waste from the property.
Steps to follow include:
- Store food in sealed containers
- Clean pantry shelves and kitchen drawers
- Dispose of garbage and recycling
- Wash rubbish bins if necessary
Eliminating food sources helps reduce pest activity and improves the effectiveness of pest control treatments.
Step 6: Prepare the Property for Pest Control
Once the cleaning and inspection are complete, prepare the property for the pest control technician. This step ensures that treatments can be applied effectively throughout the home.
Preparation tasks may include:
- Moving furniture slightly away from walls
- Clearing floor areas for treatment
- Removing pets from the property during treatment
- Covering or storing food and kitchen utensils
Following preparation instructions provided by the pest control company helps ensure the best results.
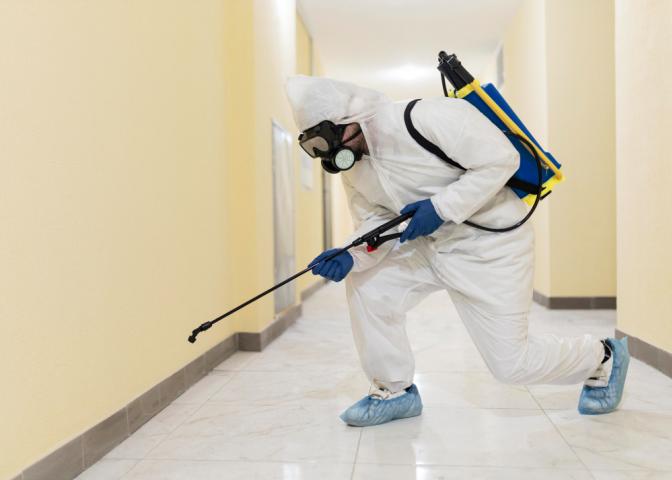
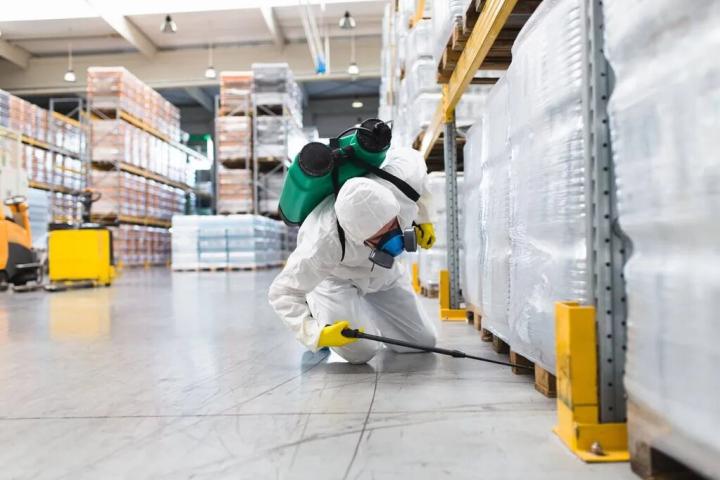
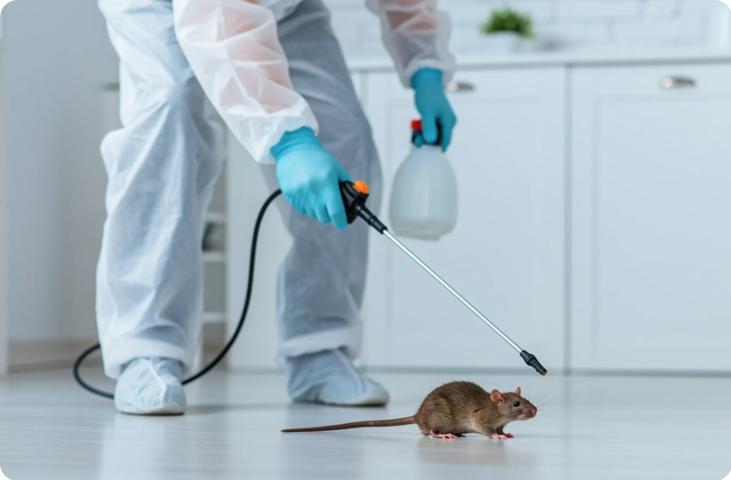
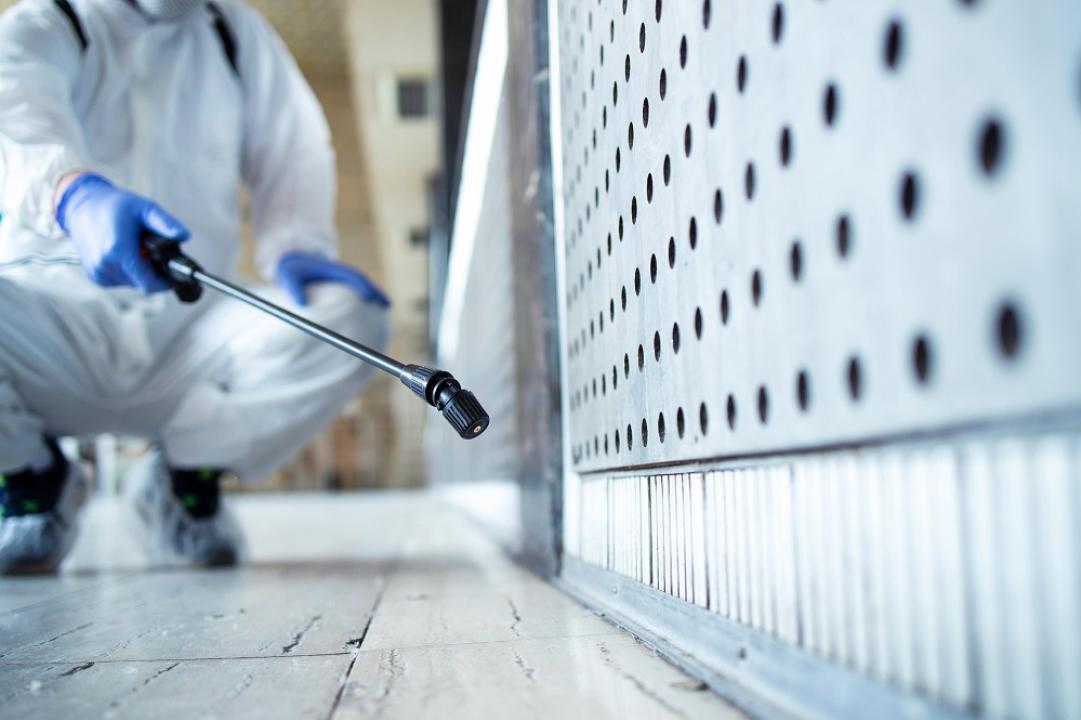
Step 7: Arrange Professional Pest Control
In most cases, landlords prefer professional pest control services instead of DIY treatments. Professional technicians have the knowledge, tools, and approved products needed to eliminate pests effectively.
Professional pest control typically includes:
- Inspection of the property
- Identification of pest activity
- Targeted treatment for specific pests
- Preventive measures to reduce future infestations
Scheduling pest control a few days before the final inspection allows enough time for the treatment to work properly.
Step 8: Complete Flea Treatment if Pets Were Present
If pets lived in the property, flea treatment is often mandatory. Fleas can hide in carpets, rugs, and furniture even after pets are removed from the home.
Professional flea treatment targets all stages of the flea life cycle, including eggs, larvae, and adult fleas. This ensures that the infestation is completely eliminated and prevents fleas from affecting future tenants.
Step 9: Keep Proof of Pest Control Service
After the pest control service is completed, the company usually provides a receipt or certificate of treatment. This document confirms that the property has been professionally treated.
Tenants should keep this document and provide it to the landlord or property manager during the final inspection. Having proof of pest control can help avoid disputes and confirm that the lease requirements have been fulfilled.
Step 10: Conduct a Final Check
Before handing over the keys, tenants should perform one last check of the property. Ensure that the home is clean, pest-free, and ready for inspection.
During the final check:
- Confirm that all rooms have been cleaned
- Ensure there are no signs of pest activity
- Verify that pest control documentation is available
Completing this final step helps ensure a smooth end-of-lease process.
Benefits of Following a Pest Control Checklist
Using a pest control checklist provides several advantages for tenants moving out of a rental property. It helps ensure all necessary tasks are completed and reduces the risk of problems during the final inspection.
Benefits include:
- Better organization during the moving process
- Compliance with lease agreement requirements
- Reduced chances of bond deductions
- Improved hygiene and cleanliness in the property
- A smoother final inspection with the landlord
By following a structured checklist, tenants can leave the property in excellent condition and meet the expectations of property managers.
Conclusion
End of lease pest control is an important responsibility for tenants living in Gold Coast rental properties. The region’s warm climate makes pest activity common, which is why many landlords require pest treatment before tenants move out.
Following a detailed pest control checklist helps tenants prepare the property, eliminate pest problems, and meet all lease requirements. From cleaning and inspection to arranging professional pest treatment, each step plays a role in ensuring the property is left in a hygienic and pest-free condition.
By completing these steps and providing proof of pest control service, tenants can increase the likelihood of receiving their full bond refund and ensure a smooth and stress-free moving experience.