
When tax season rolls around, every business owner knows how important it is to ensure compliance with IRS filing requirements. One of the essential tasks includes preparing and submitting Forms 1099 and 1096. Whether you use QuickBooks Desktop or QuickBooks Online, knowing how to print Form 1099 and 1096 in QuickBooks is crucial to avoid penalties and maintain organized financial records.
If you’ve been wondering how to complete this process efficiently, this comprehensive guide will walk you through how to print 1099 and 1096 forms in QuickBooks Online and Desktop versions. Plus, we’ll share best practices to make sure your tax season runs smoothly. For further help, you can always contact QuickBooks experts at +1(866)500-0076.
Understanding Form 1096 in QuickBooks
Form 1096 is a summary transmittal form that you send to the IRS when you file paper copies of your 1099s. It summarizes all your 1099-MISC, 1099-NEC, or other 1099 series forms for the year.
In simpler terms, if your business pays contractors, freelancers, or non-employees $600 or more, you need to issue Form 1099 to those individuals and attach Form 1096 when sending paper forms to the IRS.
QuickBooks simplifies this process by allowing you to print Form 1099 and 1096 in QuickBooks directly, ensuring accuracy and efficiency.
Before You Print Form 1096 in QuickBooks
Before learning how to print 1099 and 1096 forms in QuickBooks Online, make sure you’ve met the following prerequisites:
1. Update QuickBooks:
Always update your QuickBooks Desktop or QuickBooks Online to the latest version for form compatibility.
2. Order IRS-Approved Forms:
The IRS requires specific pre-printed red forms for 1099 and 1096 submissions. You can order them from the IRS or purchase them from an office supply store.
3. Review Vendor Information:
Ensure that vendor names, addresses, and Tax Identification Numbers (TINs) are accurate in QuickBooks.
4. Reconcile Accounts:
Verify all contractor payments are correctly recorded in your books before generating 1099s and 1096.
5. Enable 1099 Tracking:
In QuickBooks, make sure “Track payments for 1099” is enabled for all vendors who qualify.
If you need professional help setting up or reviewing these details, reach out to the QuickBooks support team at +1(866)500-0076.
Read more :- Quickbooks Payroll Update Not Working
How to Print Form 1096 in QuickBooks Desktop
If you are a QuickBooks Desktop user, follow these steps to Print Form 1099 and 1096 in QuickBooks Desktop easily:
Step 1: Prepare Your 1099 Vendors
- Go to Edit > Preferences > Tax: 1099.
- Click on the Company Preferences tab.
- Choose Yes to track payments for 1099 vendors.
- Review your vendors and mark the ones that need 1099 forms.
Step 2: Run the 1099 Wizard
- From the Vendors menu, select Print/E-file 1099s > 1099 Wizard.
- This tool guides you through verifying information, mapping accounts, and confirming vendor details.
Step 3: Generate the 1099s
- Once your data is verified, click Print 1099s to generate the contractor forms.
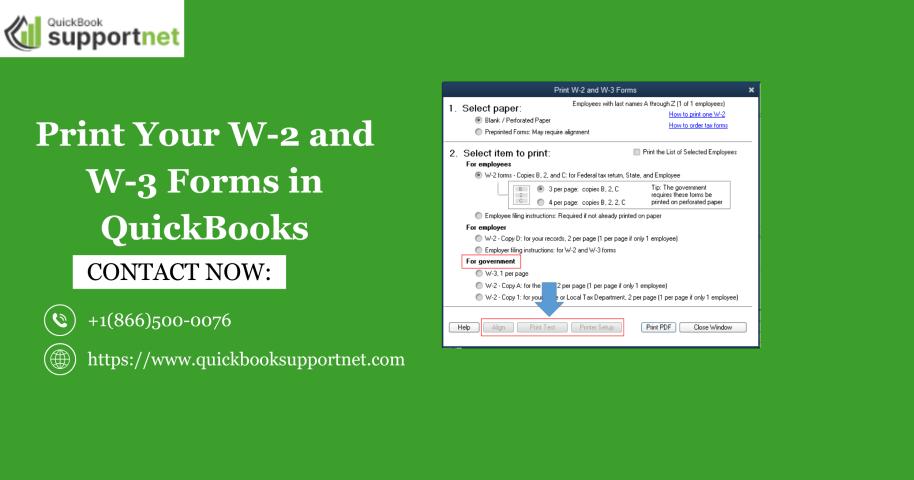
Step 4: Print Form 1096
- After generating the 1099s, select Print 1096.
- Load your IRS-approved red Form 1096 into your printer.
- Make sure you print on the official form, as the IRS does not accept black-and-white copies.
Step 5: Review and Submit
- Double-check that totals on Form 1096 match the sum of all 1099 forms.
- Mail your forms to the IRS before the filing deadline.
If you encounter any printing issues or mapping errors, contact the QuickBooks Desktop support team at +1(866)500-0076 for immediate assistance.
How to Print 1099 and 1096 Forms in QuickBooks Online
QuickBooks Online offers a simplified process for printing both forms digitally. Here’s how to Print Form 1099 and 1096 in QuickBooks Online:
Step 1: Verify Vendor Payments
- Go to Expenses > Vendors.
- Review each vendor profile and ensure “Track payments for 1099” is checked.
Step 2: Prepare 1099s
- From the Expenses tab, select Vendors > Prepare 1099s.
- QuickBooks Online will guide you through the setup process.
Step 3: Map Your Accounts
- Assign payments to the correct expense categories that qualify for 1099 reporting (like contract labor, rent, or royalties).
Step 4: Review and Confirm
- Review all your information carefully to ensure accuracy before printing or filing.
Step 5: Print 1099 and 1096 Forms
- When the system prompts you to print, select Print Form 1099 and 1096 in QuickBooks Online.
- Download the forms as PDFs and print them on IRS-approved paper.
- Verify totals and signatures before submission.
By following these steps, you’ll understand exactly how to print 1099 and 1096 forms in QuickBooks Online without errors or delays.
Read More :- install diagnostic tool for quickbooks
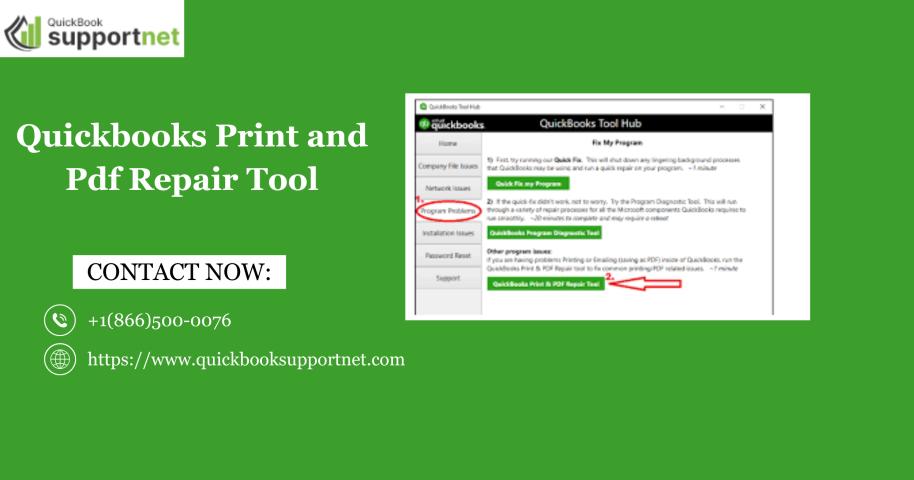
Common Problems While Printing 1096 in QuickBooks
Even though QuickBooks streamlines the process, users sometimes face minor issues. Here are a few common ones and how to fix them:
1. Alignment Issues
If your form isn’t printing correctly on pre-printed paper:
- Use the Print Test option before printing the final copy.
- Adjust margins under printer settings in QuickBooks.
2. Missing Vendors
If some vendors aren’t appearing:
- Ensure they’re marked as 1099-eligible under their profiles.
- Double-check payment thresholds ($600 or more).
3. Form Not Updating
If QuickBooks still shows last year’s form:
- Update your QuickBooks version.
- Refresh your company file and rerun the 1099 wizard.
For additional troubleshooting, QuickBooks support is always available at +1(866)500-0076.
E-File vs. Print: Which Is Better?
QuickBooks allows both printing and e-filing. Here’s a quick comparison:
Method | Advantages | Best For |
Print Form 1099 and 1096 in QuickBooks | Physical records, simple for small filings | Small businesses filing a few forms |
E-File | Faster, automatic IRS delivery, no paper waste | Businesses with multiple contractors |
If you prefer convenience and accuracy, e-filing directly from QuickBooks is often the best option. However, printed forms are still required if you must file paper copies with the IRS.
Best Practices for Printing 1096 in QuickBooks
To ensure smooth filing:
1. Use the Correct Forms:
Always print on official red forms supplied by the IRS.
2. Verify Information: Ensure that all names, addresses, and TINs are up-to-date.
3. Keep Digital Backups:
Save copies of your 1099 and 1096 forms for at least four years.
4. File Before Deadlines:
Avoid late penalties by submitting before January 31 for 1099s and February 28 for 1096s (if filing by mail).
5. Seek Expert Help if Needed:
Tax filings can be complex, so don’t hesitate to call +1(866)500-0076 for assistance from QuickBooks professionals.
Why Use QuickBooks for Form 1099 and 1096 Filing?
QuickBooks makes tax compliance easier with features like:
- Automated 1099 tracking and mapping.
- Integrated e-filing options.
- Step-by-step form preparation wizards.
- Compatibility with IRS-approved forms.
By learning how to print 1099 and 1096 forms in QuickBooks Online or Desktop, you save valuable time, reduce manual entry errors, and ensure your filings are 100% IRS-compliant.
Conclusion
Filing 1099 and 1096 forms doesn’t have to be complicated. Whether you’re using QuickBooks Desktop or QuickBooks Online, the built-in tools make it simple to prepare, print, and file these essential tax documents accurately.
By following this guide, you now know how to Print Form 1099 and 1096 in QuickBooks, manage your vendors correctly, and handle year-end filings with confidence. For any technical issues or form alignment problems, QuickBooks-certified experts are always ready to help.
Call now at +1(866)500-0076 for instant assistance or visit QuickBooksupportnet for reliable QuickBooks resources and step-by-step troubleshooting help.