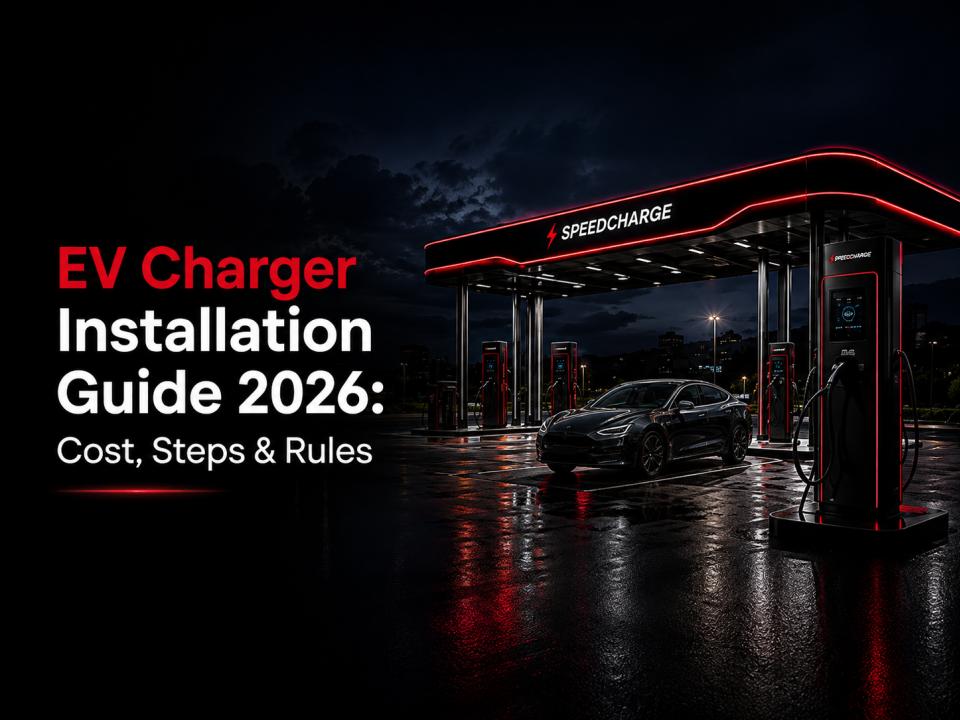
Electric vehicle ownership in India has moved from early-adopter territory to mainstream reality, and with it comes a question every new EV owner and every business eventually asks: how do I actually get an EV charger installed — properly, safely, and without overpaying?
This 2026 guide walks through the complete EV charger installation process for India — home, housing society, and commercial/public setups — covering charger types, step-by-step installation, real costs, safety rules, government subsidies, and the mistakes that cause the most rejected insurance claims and failed inspections.
What Does "EV Charger Installation" Actually Involve?
EV charger installation is not just mounting a box on a wall. A compliant, safe installation involves four distinct layers:
Site assessment — checking sanctioned electrical load, panel capacity, and cable distance.
Electrical work — a dedicated circuit, correct breaker and RCD/RCCB protection, and proper earthing.
Charger mounting and commissioning — physically fixing the unit, wiring it in, and running a full load test.
Approvals and documentation — society NOC (where applicable), BIS certification checks, and keeping installation records for warranty and insurance purposes.
Skipping any one of these layers is where most installation problems — and most insurance claim rejections after an electrical fault — actually originate.
Types of EV Chargers You Can Install
Level 1 (Portable/Plug-in Charger)
The cable that comes with most EVs, using a standard 5A or 15A household socket. No formal installation needed, but it is the slowest option and not meant as a long-term primary charging solution.
Level 2 (AC Wallbox — 3.3 kW to 22 kW)
The most common installed charger for homes, housing societies, and commercial parking. A 7.2–7.4 kW wallbox is the typical sweet spot for a single EV car; 11 kW and 22 kW three-phase units suit faster charging needs or multi-vehicle setups.
Level 3 (DC Fast Charger)
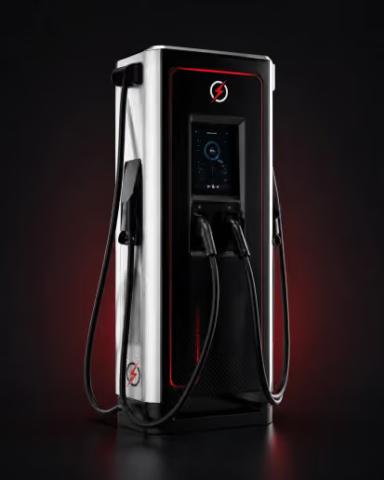
Used mainly for public and commercial installations — highways, malls, hotels, and restaurants — where multiple vehicles need a fast turnaround rather than overnight charging. These require significantly higher sanctioned load and specialised commissioning.
In India, CCS2 (Combined Charging System 2) is the standard connector for four-wheeler DC fast charging, while Bharat DC-001 remains common for lower-voltage fleet and two/three-wheeler applications. Any charger you install should be BIS-certified under IS-17017 — this single detail matters more than people realise, because non-certified chargers can lead to insurance claim rejection in the event of an electrical fire.
Step-by-Step EV Charger Installation Process
Step 1: Site & Load Assessment
A qualified electrician evaluates your existing electrical panel, sanctioned load, and the cable run distance from the distribution board (DB) to the parking spot. This determines whether you need a load upgrade before anything else.
Step 2: Choose the Right Charger
Match charger capacity to your vehicle's onboard charger rating and your actual charging pattern — overnight home charging needs far less power than a commercial fast-turnaround setup. Don't over-buy capacity you'll never use, and don't under-buy for a property that will scale to multiple EVs.
Step 3: Get Society/Property Approval (If Applicable)
For apartments and housing societies, submit a written request specifying the charger model and kW rating, a site plan showing the proposed cable route, the electrician's credentials, BIS certification of the charger, and a commitment to follow Central Electricity Inspectorate (CEI) safety guidelines. Under India's Electricity Act and related guidelines, an RWA generally cannot arbitrarily block a compliant installation in your designated parking spot — but a complete, well-documented application avoids most friction entirely.
Step 4: Dedicated Circuit & Safety Switchgear
This is the non-negotiable safety step. Every EV charger installation needs:
A dedicated circuit — never share a circuit with other high-load appliances.
A properly rated MCB (Miniature Circuit Breaker).
A 30mA Type A/B RCBO or RCCB — this residual current protection device is what actually protects against electrical faults and is frequently the component corner-cutting electricians skip.
Proper earthing, including a dedicated earthing pit where the existing earth isn't adequate.
ISI-marked copper cable of the correct gauge — reject aluminium cable substitution, and insist on cable routed through proper conduit rather than stapled bare wire.
Step 5: Mounting & Commissioning
The charger unit is physically fixed, wired into the dedicated circuit, and a full load test is run before it's handed over. If the charger has smart/app connectivity, this is also when it gets configured and linked to the manufacturer's app.
Step 6: Documentation & Handover
Keep the electrician's licence details, the load-sanction letter (if a load upgrade was needed), the charger invoice and warranty card, and a commissioning checklist. This paperwork matters for warranty claims, resale, and insurance — don't skip it just because the charger is working.
Realistic timeline: A straightforward home installation typically takes 3–5 hours once the site assessment is done and any load upgrade is approved. Commercial and multi-charger installations take considerably longer and are usually phased.
EV Charger Installation Cost in India (2026)
Costs vary by charger capacity, cable run length, city/DISCOM, and whether a load upgrade is needed. Indicative 2026 ranges: