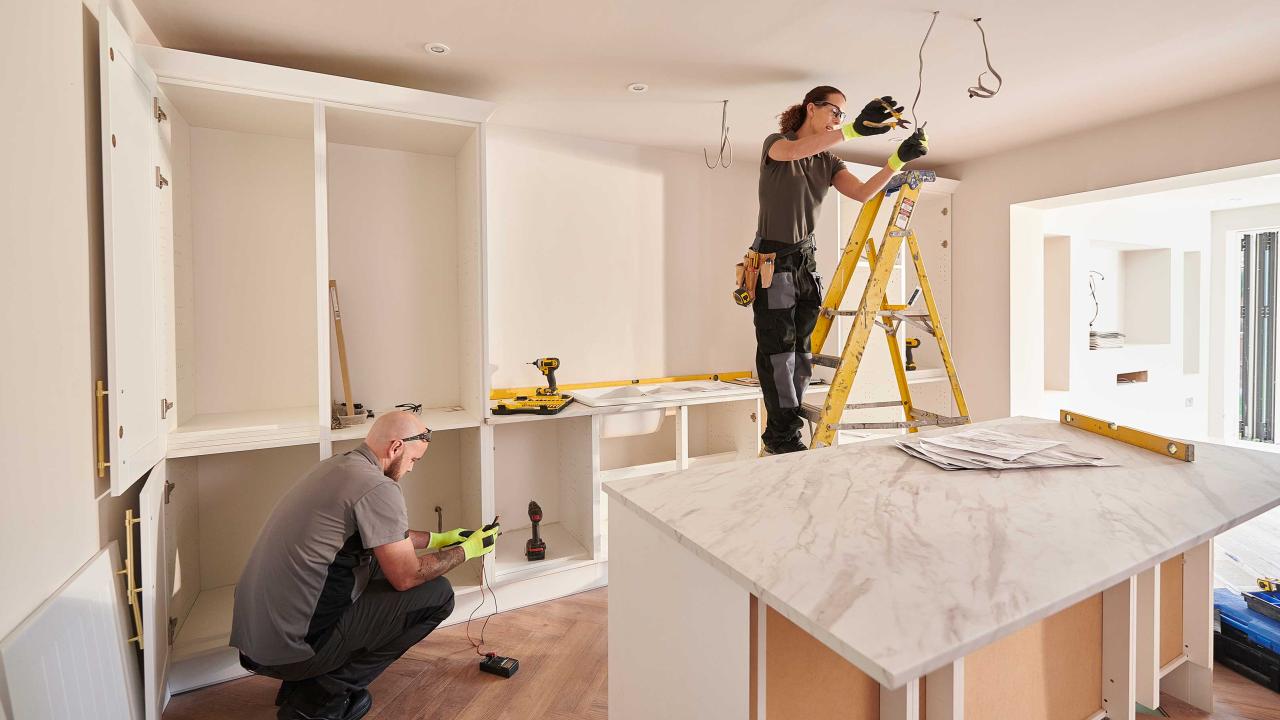
Home improvement projects often begin with an idea: installing new flooring, repainting a bedroom, renovating a kitchen, or transforming an unused space into a functional room. While choosing colors and materials can be exciting, successful planning starts with something much more practical: accurate measurements.
Knowing the dimensions of a room helps homeowners estimate material requirements, compare prices, prepare budgets, and avoid unnecessary purchases. Even a small measurement error can create problems when ordering flooring, calculating paint quantities, or determining whether furniture will fit comfortably.
Fortunately, homeowners do not need advanced mathematical skills to plan most residential projects. A measuring tape, a basic understanding of area, and a few reliable digital tools can make the process considerably easier. By measuring spaces carefully and checking calculations before purchasing materials, homeowners can approach renovation projects with greater confidence.
1. Why Accurate Measurements Matter
The size of a room affects almost every decision involved in a renovation. Flooring requirements depend on the floor area, paint estimates depend partly on wall dimensions, and furniture arrangements require an understanding of available space.
When measurements are inaccurate, homeowners may purchase too little material and face project delays. Ordering too much can also be costly, particularly when materials are expensive or difficult to return.
Accurate measurements support several important decisions:
Budget planning: Estimate material quantities and compare supplier prices.
Material selection: Determine which flooring, tiles, or coverings suit the available space.
Waste reduction: Avoid buying substantially more material than necessary.
Project scheduling: Reduce interruptions caused by missing supplies.
Layout planning: Understand how furniture, fixtures, and other elements fit within a room.
Measurements also make it easier to compare contractor estimates. If different professionals provide substantially different quantities for the same area, homeowners can ask questions and clarify how the figures were calculated.
2. Calculate Floor Area Before Buying Materials
Floor area is one of the most useful measurements in residential improvement. For a rectangular room, it can be calculated by multiplying the length by the width.
For example, a bedroom measuring 12 feet long and 10 feet wide has an area of 120 square feet.
Floor area = Length × Width
This straightforward calculation works well for square and rectangular spaces. Rooms with unusual shapes require a slightly different approach. Homeowners can divide an irregular room into smaller rectangles, calculate each section separately, and add the results together.
For instance, an L-shaped living room might be divided into two rectangular sections. Measuring each section independently can provide a practical estimate of the total floor area.
Digital tools can simplify these calculations. A square footage calculator can help users convert room dimensions into an area measurement without repeatedly performing calculations manually.
Before relying on the result, homeowners should ensure that all measurements use the same unit. Mixing feet with inches or meters with centimeters without converting them first can lead to incorrect estimates.
3. Estimate Flooring Materials More Effectively
Flooring is one of the most common reasons homeowners calculate room dimensions. Whether they choose hardwood, laminate, vinyl, carpet, or ceramic tile, knowing the area helps them estimate how much material to purchase.
However, the measured floor area is not always the final quantity required. Cutting, pattern matching, damaged pieces, and installation conditions can increase material needs.
For example, a simple rectangular room with 120 square feet of floor area might require additional flooring to account for cuts around doorways and edges. The appropriate allowance depends on the material, room shape, installation pattern, and manufacturer's recommendations.
A practical flooring plan should include:
Measuring the length and width of the space.
Calculating the total floor area.
Identifying areas that will not receive the flooring.
Checking the package coverage listed by the manufacturer.
Adding an appropriate allowance for cutting and waste.
Confirming the final quantity with the installer or supplier.
Different flooring types have different installation requirements. Diagonal layouts, intricate patterns, and rooms with multiple corners may require more cutting than straightforward installations.
Homeowners should also consider keeping a small amount of spare material for future repairs, provided storage conditions and product availability make this practical.
4. Plan Paint Quantities Using Wall Measurements
Painting projects require more than knowing the floor area. The amount of paint needed depends on the surface area of the walls and ceilings, the number of coats, the paint's coverage rate, and the condition of the surfaces.
To estimate the area of a rectangular wall, multiply its height by its width. Repeat this calculation for the remaining walls, then add the results together.
Doors and windows can be subtracted when their dimensions are known, although the decision depends on how precise the estimate needs to be. Textured or highly absorbent surfaces may require more paint than smooth, previously painted walls.
Suppose a room has four walls with a combined area of 400 square feet. If doors and windows account for 40 square feet, the approximate paintable area becomes 360 square feet.
If the selected paint covers 300 square feet per gallon under the stated conditions, one coat would require approximately 1.2 gallons. Two coats would require about 2.4 gallons before allowing for surface conditions or additional touch-ups.
This is an illustration rather than a universal coverage rule. Actual coverage varies by product, application method, and wall condition, so homeowners should always check the paint manufacturer's instructions.
5. Measure Irregular Rooms and Outdoor Areas
Not every project involves a simple rectangle. Attics, converted garages, patios, gardens, and extensions may have angled walls, alcoves, or multiple connected sections.
Trying to measure an irregular space as one large shape can increase the risk of mistakes. Dividing it into smaller, manageable sections is usually more practical.
For an L-shaped room, measure each rectangular section separately. For a triangular section, multiply its base by its perpendicular height and divide the result by two.
Triangle area = (Base × Height) ÷ 2
Add the areas of the individual sections to obtain the total. If some sections overlap, account for the overlap so it is not counted twice.
Outdoor projects benefit from the same method. Homeowners planning a patio, garden bed, walkway, or artificial lawn can calculate the area of each section before estimating paving stones, soil, gravel, or turf.
For larger or more complicated projects, professional measurements may be worthwhile. Land boundaries, structural changes, drainage, and other technical requirements may involve considerations beyond basic area calculations.
6. Use Measurements to Create a Realistic Project Budget
Material quantities directly influence renovation costs. Once homeowners know the approximate area of a project, they can compare prices across products and suppliers.
For example, if a flooring material costs $3 per square foot and the planned purchase covers 150 square feet, the material cost would be $450 before taxes, delivery, underlayment, installation, and other expenses.
A complete budget should account for more than the primary material. Depending on the project, additional costs may include adhesive, grout, fasteners, primer, protective coverings, equipment rental, labor, and waste disposal.
Homeowners should also consider whether the project may reveal unexpected issues. Removing old flooring, for example, can expose damaged subfloors that need repair before new materials can be installed.
Creating a small contingency allowance can help absorb these surprises without forcing major changes to the plan.
Measurements make cost comparisons more meaningful because suppliers may quote materials in different package sizes or units. Converting the required quantity into a consistent unit helps homeowners evaluate the actual cost of covering their space.
7. Avoid Common Measurement Mistakes
Even simple calculations can become unreliable when the original measurements are incorrect. A few consistent habits can help prevent common errors.
Measure more than once. Check important dimensions again before ordering expensive materials. If two measurements differ, investigate the discrepancy rather than automatically choosing one.
Record units clearly. Write down whether a measurement is in feet, inches, meters, or centimeters. Convert values before calculating if different units have been used.
Measure the actual installation area. Room dimensions may not represent the usable area when built-in cabinets, permanent fixtures, or unusual layouts are involved.
Check product coverage. Flooring boxes, tile packages, and paint containers often state their expected coverage. Use these figures rather than relying on general assumptions.
Allow for project-specific waste. Cutting patterns, breakage, surface conditions, and installation methods can change the amount required.
Keep a written record. A simple sketch showing measurements, doors, windows, and fixed features makes it easier to communicate with contractors and verify calculations later.
These practices are inexpensive, but they can prevent unnecessary purchases and avoidable delays.
8. Combine Digital Tools With Practical Planning
Digital calculators make measurements easier to work with, but they are most effective when used alongside careful planning. A calculator can process the numbers correctly while still producing a misleading result if the original dimensions are inaccurate.
Homeowners can improve their process by recording each room's measurements, calculating areas separately, and keeping material estimates in a spreadsheet or project notebook.
For larger renovations, a digital floor plan may help visualize furniture placement, room layouts, and the relationship between different spaces. However, digital diagrams should not replace professional drawings or site measurements when a project involves structural changes, building regulations, or technical installations.
It is also useful to organize measurements by project. A flooring estimate, wall-paint estimate, and patio-material estimate involve different surfaces and assumptions, so keeping them separate reduces confusion.
Before purchasing materials, review the calculations, confirm product specifications, and discuss uncertain quantities with the supplier or installer. This final check can be especially valuable when materials are custom ordered or expensive to replace.
Conclusion
Accurate measurements provide a strong foundation for successful home improvement projects. They help homeowners estimate flooring, calculate paint requirements, plan outdoor spaces, compare material prices, and prepare realistic budgets.
The process does not have to be complicated. Measure carefully, divide irregular spaces into manageable sections, use consistent units, and verify calculations before making purchases. Digital calculators can simplify the mathematics, while manufacturer guidance and professional advice help account for installation-specific requirements.
By combining reliable measurements with thoughtful preparation, homeowners can reduce waste, control costs, and make better decisions throughout a renovation. A little attention to the numbers at the beginning can save considerable time and frustration later.