Have you ever walked into a furniture store, spotted a beautiful console table, and then looked at the price tag — only to walk away disappointed? You are not alone. Console tables can be surprisingly expensive for what they are. The good news is that building one yourself is not as hard as it sounds. Whether you have never picked up a drill before or you already have a workshop full of tools, you can build a console table that looks great and fits your space perfectly.
This guide walks you through everything — from understanding what a console table actually is, to picking the right plan for your skill level, to putting the finishing touches on your new piece of furniture.
What Is a Console Table?
A console table is a long, narrow table that usually sits against a wall. You see them in hallways, behind sofas, in entryways, and even in living rooms. They are great for holding lamps, picture frames, keys, plants, or anything you want to display. Because they are flat against the wall, they do not take up much floor space — which makes them perfect for smaller homes and apartments.
Why Build One Yourself?
There are a few really good reasons to go the DIY route:
You save money. A store-bought console table can cost anywhere from a few thousand rupees to tens of thousands. When you build it yourself, you spend mostly on wood and hardware — and that is much cheaper.
You get the exact size you want. Most store tables come in standard sizes. Your hallway might be a little shorter or your wall a little wider. When you build it yourself, you measure first and cut to fit.
It feels personal. There is something satisfying about looking at a piece of furniture in your home and knowing you made it with your own hands.
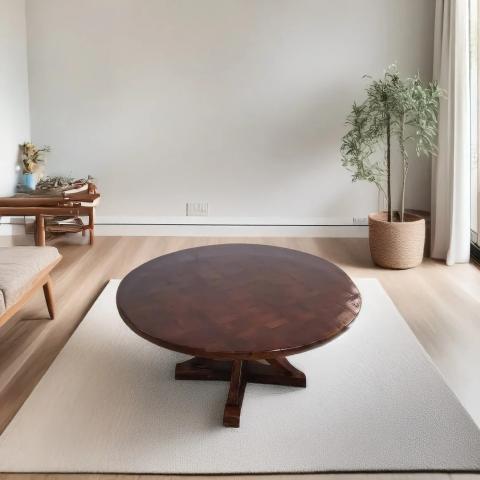
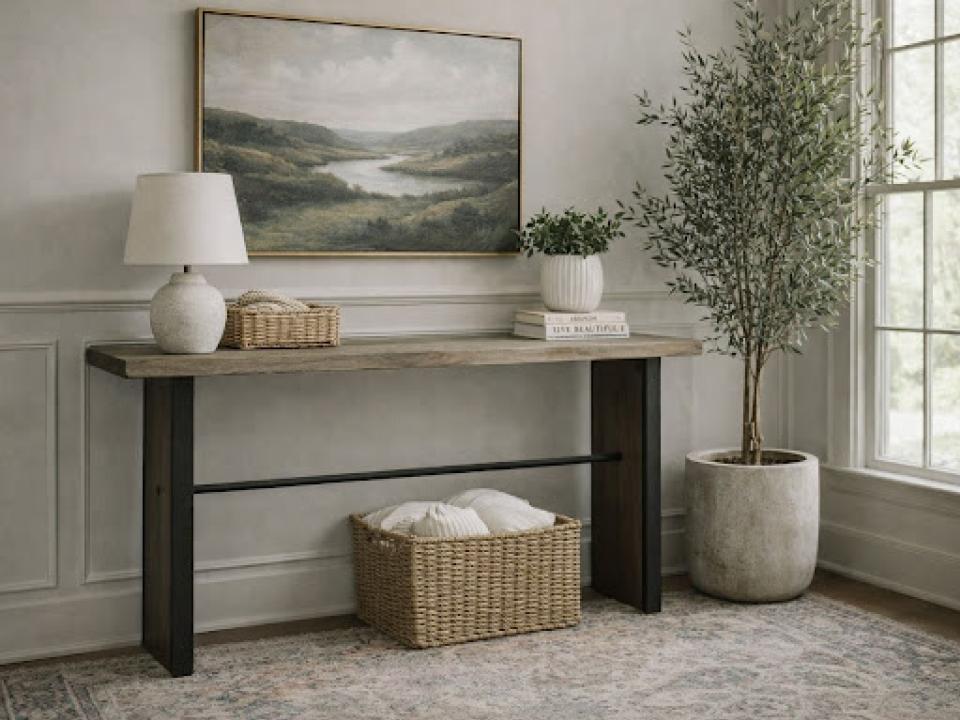
Beginner Level: The Simple 4-Leg Console Table
If you are new to woodworking, start simple. This design uses four straight legs and a flat top — nothing complicated.
What you need:
- Two wooden boards for the top (you can glue them side by side for width)
- Four wooden legs (you can buy pre-made table legs from any hardware store)
- Wood screws and a drill
- Sandpaper
- Wood stain or paint
Steps: First, measure the space where your table will go. A common console table size is about 120 cm long, 30 cm wide, and 80 cm tall — but adjust based on your needs.
Cut your top boards to size, or have the hardware store cut them for you. Sand all the surfaces until smooth. Attach your legs using screws or leg mounting brackets (these come in the hardware store and make the job very easy). Flip the table right-side up, sand again lightly, and then paint or stain it in whatever color you like.
That is it. A beginner can finish this project in a single afternoon.
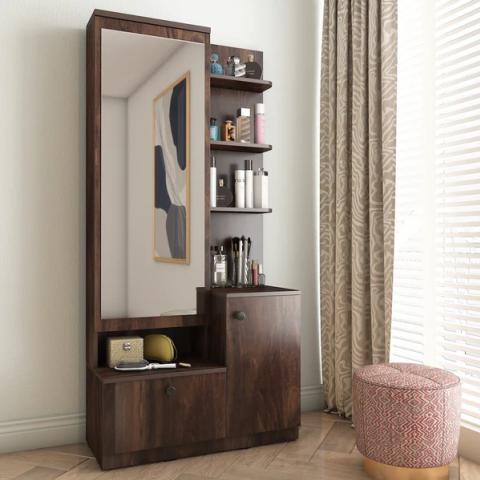
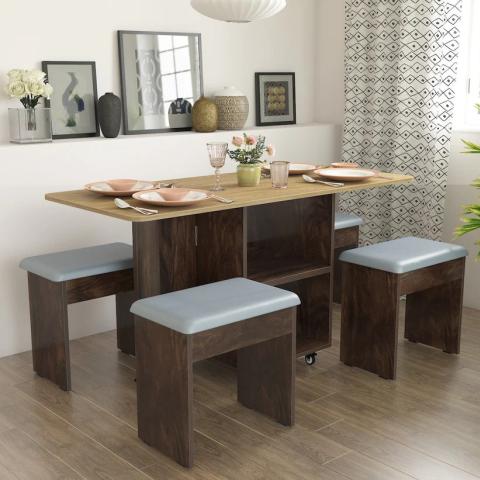
Intermediate Level: Console Table with a Shelf
Once you are comfortable with basic cuts and screws, adding a shelf between the legs gives your table more storage and a more finished look.
The process is almost the same as the beginner version, but you add a lower shelf board about 20 to 25 cm from the floor. You can attach it using pocket hole screws — a pocket hole jig is an inexpensive tool that makes this kind of joint very clean and strong. This level also gives you a chance to try using an apron (a frame around the underside of the tabletop), which adds stability and makes the table look more professional.
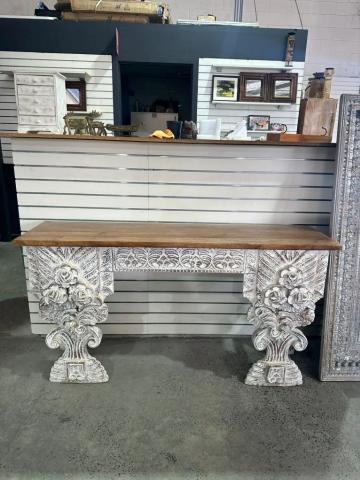
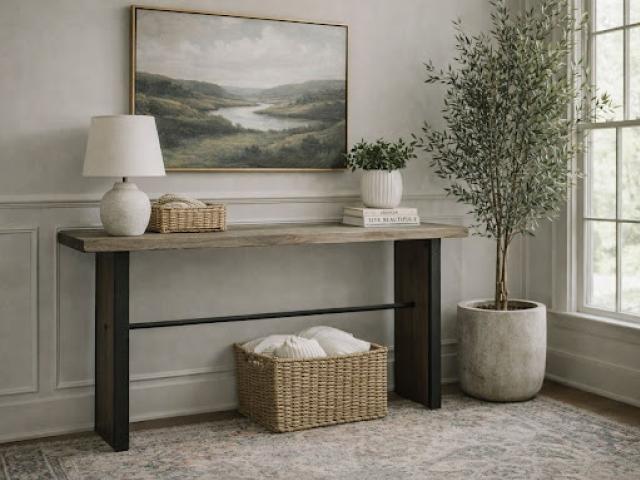
Advanced Level: Hairpin Leg or Farmhouse Style
If you want a real challenge and a truly stunning result, try a farmhouse->
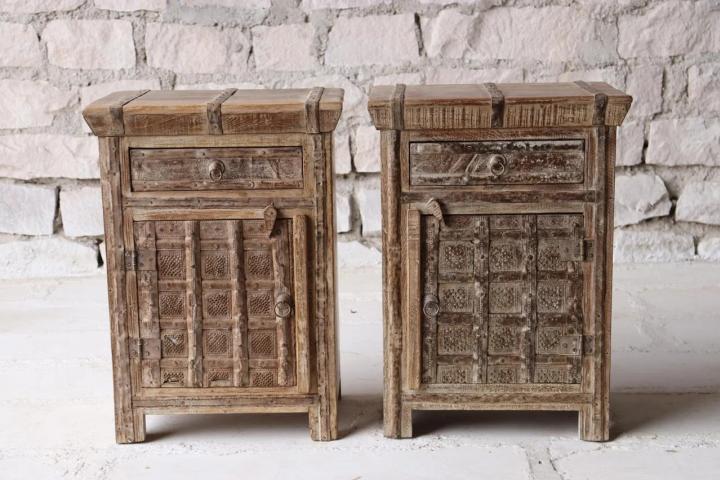
Another advanced option is building a table with drawers. This requires a bit more knowledge about how drawer slides work, but the result is incredibly useful, especially in an entryway where you need storage for small items.
Final Tips Before You Start
Always measure twice and cut once — this old rule saves wood and frustration. Do not skip the sanding step; smooth wood holds paint and stain far better. If you are painting, use a wood primer first. And most importantly, take your time. A project done carefully always turns out better than one done in a rush.
Building your own console table is one of the most rewarding weekend projects you can take on. It costs less, fits better, and every time someone says "I love that table," you get to smile and say — "Thanks, I made it myself."