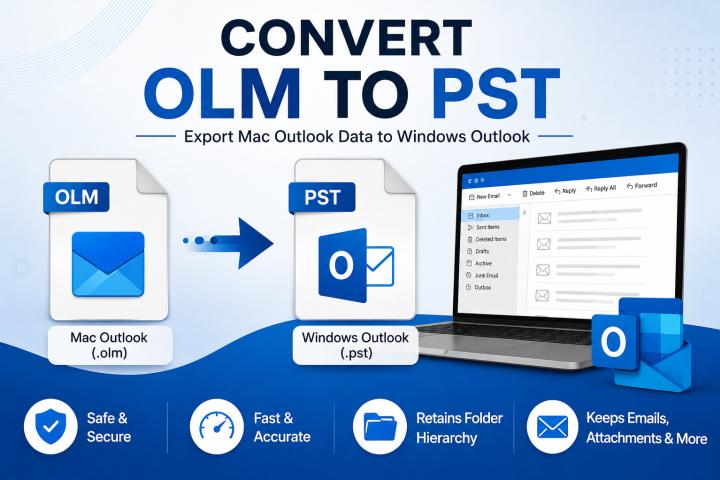
Mac users often store their emails, contacts, calendars, and other mailbox information in OLM files created by Microsoft Outlook for Mac. While OLM files work well within Outlook for Mac, accessing this data on Windows, Gmail, Microsoft 365, or other email platforms can be difficult. This is where an OLM converter tool can help.
An OLM converter allows users to convert OLM files into commonly supported formats while preserving important mailbox data. However, choosing the right conversion method is important because incorrect conversion can result in missing emails, attachments, folders, or other mailbox information.
What Is an OLM File?
OLM is the mailbox data file format used by Microsoft Outlook for Mac. It can contain emails, attachments, contacts, calendars, notes, and other Outlook data. Unlike PST files, which are commonly associated with Outlook for Windows, OLM files are designed specifically for the Mac version of Outlook.
When users move from Mac to Windows or switch to another email platform, they may need to convert their OLM files into formats such as PST, EML, MSG, MBOX, or other supported formats.
Why Use an OLM Converter Tool?
Manually moving large amounts of Outlook data can be time-consuming and may not always preserve the original folder structure. An OLM converter tool is designed to simplify this process.
Some common reasons for converting OLM files include:
- Moving Outlook data from Mac to Windows
- Migrating emails to another email client
- Creating an accessible backup of OLM data
- Moving mailbox data to Gmail or Microsoft 365
- Converting OLM files into PST, MBOX, EML, or other formats
- Preserving emails and attachments during migration
A reliable conversion process can make mailbox migration easier and reduce the risk of losing important information.
How to Convert OLM Files Without Data Loss
Before starting the conversion, it is recommended to keep the original OLM file safely backed up. You should also make sure that the destination has enough storage for the converted mailbox data.
Step 1: Locate the OLM File
First, identify the OLM file that contains your Outlook for Mac data. If you have multiple OLM files, determine which one contains the required emails and folders.
Step 2: Select an OLM Converter Software
Choose reliable OLM converter software that supports the output format you need. Different tools may offer different destination formats, so check whether the software supports PST, MBOX, EML, MSG, or another required format.
Step 3: Add the OLM File
Open the converter and add your OLM file. Some applications allow users to select individual folders, while others can process the complete mailbox.
If the OLM file is large, scanning and loading may take some time. Avoid interrupting the process while the software is analyzing the mailbox.
Step 4: Preview the Mailbox Data
A useful converter should provide a preview of the available mailbox items. Check important folders such as Inbox, Sent Items, Drafts, Contacts, and other custom folders before beginning the conversion.
Previewing the data can help you confirm that the correct OLM file has been selected.
Step 5: Select the Destination Format
Choose the format required for your migration. For example, PST may be useful when moving mailbox data to Outlook for Windows, while MBOX can be useful for supported email applications.
Select the appropriate destination and configure any available options according to your requirements.
Step 6: Start the Conversion
Start the conversion process and allow the OLM converter software to complete the operation. Avoid shutting down the computer or closing the application during conversion, particularly when processing a large mailbox.
Once completed, save the converted files to a secure location.
How to Verify Data After Conversion
Conversion should not end with simply creating an output file. It is important to verify the converted data before deleting the original OLM file.
Open the converted mailbox and check whether emails, attachments, folders, dates, recipients, and other important information are available. If you are migrating to another email platform, import a test copy first and confirm that the mailbox structure and content appear correctly.
Keeping the original OLM file until the migration has been completely verified provides an additional layer of protection.
Tips for Safe OLM Conversion
To reduce the possibility of data loss, follow these practices:
- Always create a backup of the original OLM file.
- Use trusted OLM converter software.
- Check the destination format before conversion.
- Make sure sufficient storage space is available.
- Preview mailbox data whenever the software supports it.
- Avoid interrupting the conversion process.
- Verify emails and attachments after conversion.
- Keep the original OLM file until the migration is confirmed.
These steps can make the conversion process safer and help maintain the integrity of important mailbox information.
Conclusion
Converting OLM files becomes much easier when you use the right OLM converter tool and follow a structured migration process. Whether you need to move Outlook for Mac data to Windows, migrate emails to another platform, or create a more accessible copy of your mailbox, OLM converter software can simplify the process.
For users looking for a practical solution for email migration and mailbox conversion, Way2Migration provides tools and resources designed to make data migration more convenient. Always back up your original OLM file and verify the converted data before completing the migration.