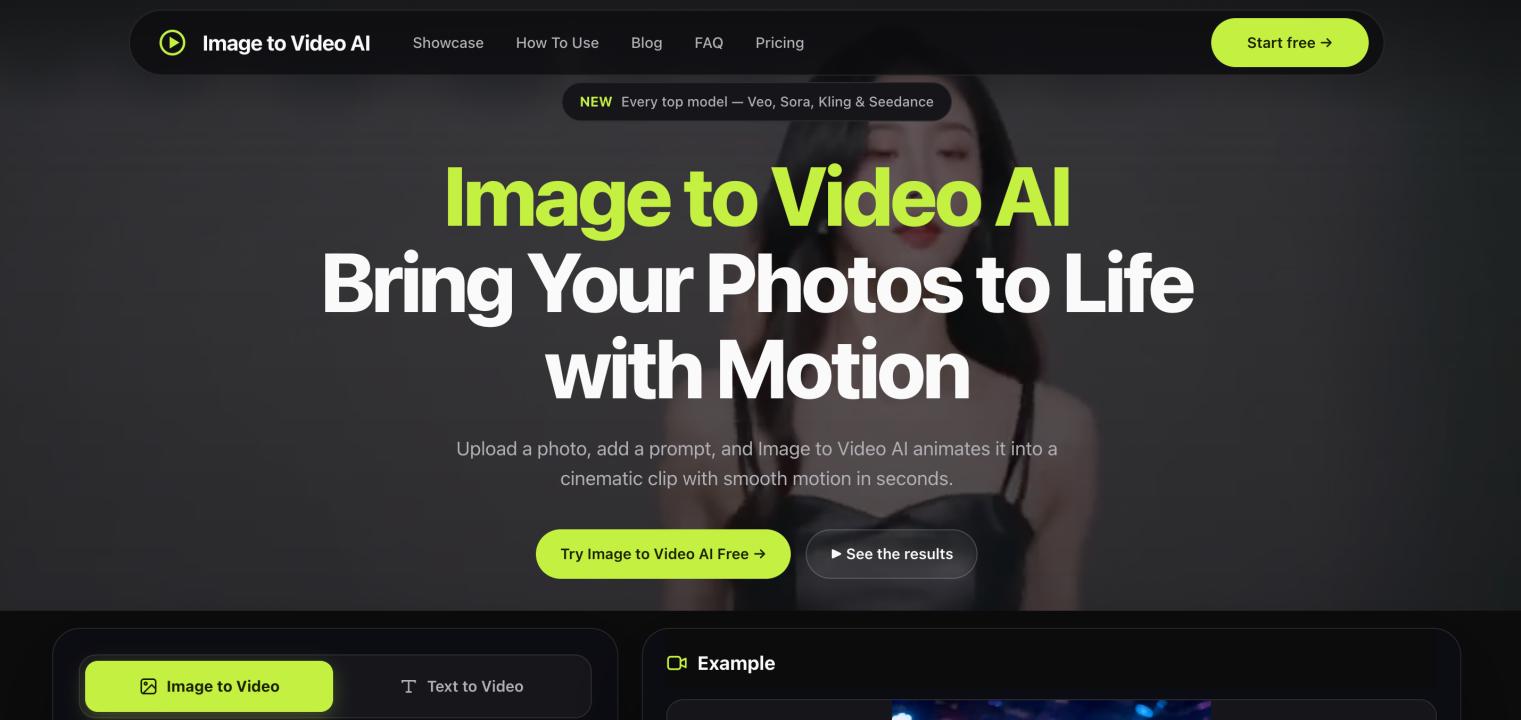
Static images are useful, but motion is often what makes people stop scrolling. A product photo can become a short ad, an illustration can turn into a cinematic scene, and an old portrait can feel alive again. With Image to Video AI, you can upload a single image, describe how it should move, and generate a video without learning traditional animation or video-editing software.
The idea sounds simple, but anyone who has experimented with AI video knows that the workflow can quickly become fragmented. One model may be better at natural character motion, another may handle camera movement more effectively, and a third may preserve product details more consistently. Comparing them often means opening several websites, creating multiple accounts, uploading the same image repeatedly, and learning a different interface each time.
An image-to-video workspace solves this by bringing the essential steps—and multiple leading models—into one place.
Why Turn Images Into Videos?
Creating a video from an existing image is often faster than generating an entire scene from text. The image already defines the subject, composition, colors, lighting, and visual >
This makes image-to-video generation useful for many everyday creative tasks:
- Animating product images for ads and online stores
- Turning illustrations into short social media clips
- Adding subtle movement to portraits and historical photos
- Creating cinematic shots from concept art
- Producing vertical videos for TikTok, Reels, and Shorts
- Testing motion ideas before investing in a full video production
The process is especially valuable when you already have a strong visual asset and want to reuse it in a more engaging format.
A Simpler Multi-Model Workflow
No single AI video model is the best choice for every image. A close-up portrait, a fashion shot, a fantasy landscape, and a product render all create different motion challenges. The practical solution is not to commit to one model for every task, but to choose the model that fits the specific shot.
Image to Video AI brings models such as Veo, Sora, Kling, Seedance, and Runway into one workflow. This makes it easier to compare options without rebuilding the same project across several platforms.
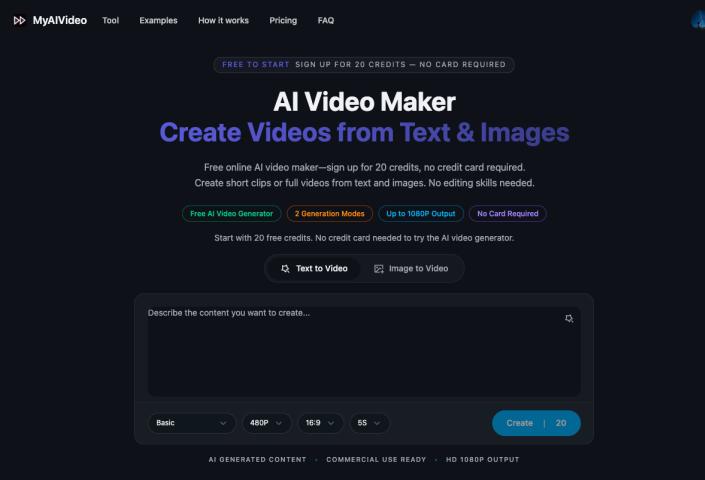
The basic process is straightforward:
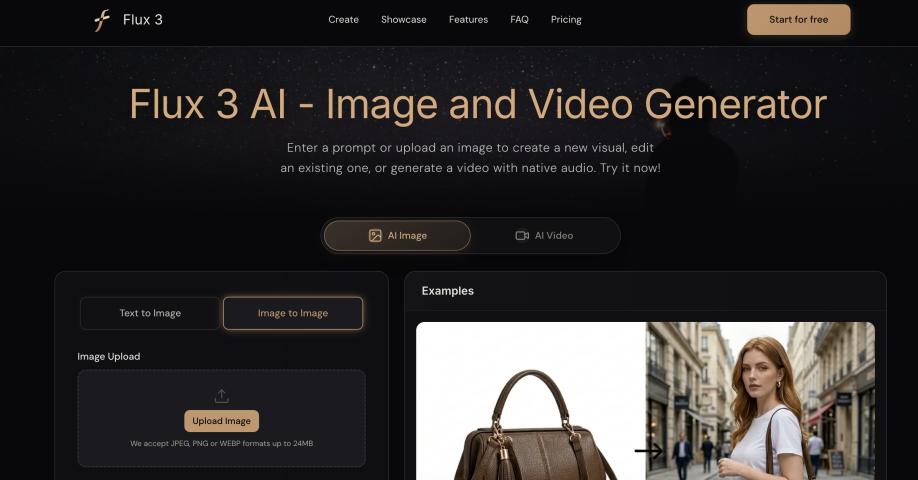
- Upload a JPG, PNG, or WebP image.
- Describe the motion you want with a short prompt.
- Choose a video model and aspect ratio.
- Generate the clip and download the result as an MP4.
Instead of spending time learning multiple interfaces, you can concentrate on the creative decision that matters: how the still image should move.
How to Write a Better Motion Prompt
A useful image-to-video prompt should describe movement rather than repeat what is already visible in the image. The model can see the subject, background, and composition. What it needs from you is direction.
For example, instead of writing:
A woman standing in a city street
Try:
The camera slowly moves forward as the woman turns toward the lens. Her hair moves gently in the wind while the background traffic remains softly blurred.
A strong motion prompt usually includes two or three elements:
- Subject movement: What should the person, object, water, fabric, or environment do?
- Camera movement: Should the camera pan, tilt, zoom, orbit, or remain still?
- Motion quality: Should the movement feel subtle, energetic, slow, cinematic, playful, or realistic?
Short, precise instructions are usually easier to control than a long prompt filled with unrelated visual details.
More Control Over the Final Clip
Basic image animation is useful, but creative work often requires more control. Image to Video AI supports camera movements such as panning, zooming, and tilting, along with first-frame and end-frame control for shots that need a more deliberate beginning and ending.
Aspect ratio also matters. A 9:16 clip is suitable for vertical social platforms, 16:9 works well for YouTube and presentations, and 1:1 remains useful for square feeds and product showcases. Choosing the correct format before generation avoids unnecessary cropping later.
For projects that need cleaner exports, the platform also offers watermark-free MP4 output at resolutions up to 4K. This makes generated clips easier to reuse in ads, client work, landing pages, and longer edits.
Practical Tips for Better Results
AI video generation still depends heavily on the quality of the source image. A few simple choices can improve the result:
Start With a Clear Subject
Use an image where the main person or object is easy to identify. Busy scenes with overlapping subjects can produce unpredictable movement.
Leave Space Around the Subject
Some empty space gives the model room to create camera motion and background movement without distorting the edges of the subject.
Keep the First Motion Subtle
Large or complicated actions are harder to generate consistently. Begin with a gentle camera move, a natural expression change, moving fabric, drifting clouds, or subtle environmental motion.
Match the Model to the Shot
If one model struggles with a particular image, test another rather than endlessly rewriting the prompt. Multi-model access is most useful when it helps you find the right engine for each scene.
Review Details Before Publishing
Watch for changes in faces, hands, text, logos, and small product details. AI-generated motion can look convincing at first glance while still introducing inconsistencies between frames.
From One Image to Many Content Formats
One of the most practical benefits of image-to-video generation is content reuse. A single product render can become a vertical ad, a landscape website banner, and a square social post. An illustration can be animated into a teaser, then combined with captions or voice-over in a separate editor.
This does not replace thoughtful video production. It removes the time-consuming gap between having a strong still image and having a usable motion concept. For creators, marketers, designers, and small teams, that can make video experimentation much more accessible.
Final Thoughts
The best image-to-video workflow is not necessarily the one with the most settings. It is the one that helps you move quickly from a visual idea to a usable clip while giving you enough control to correct the result. If you want to animate a photo, compare multiple leading models, and export the finished clip from one place, try Image to Video AI with one of your own images and see which motion >