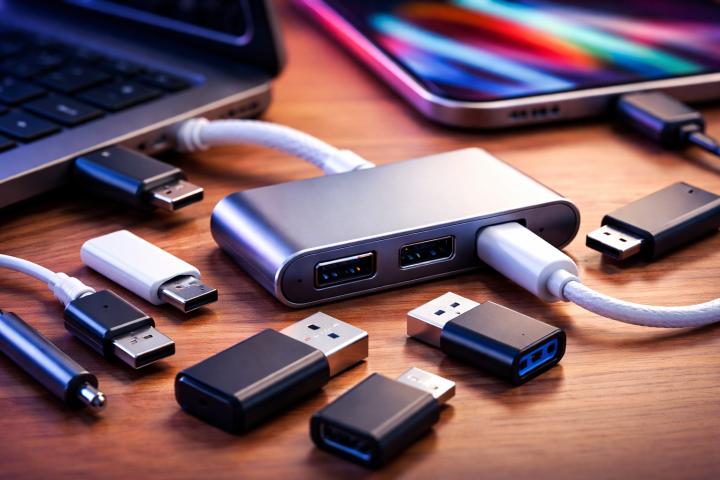

Reformatting a USB might sound tricky, but it’s actually super simple. You might want to do it to erase everything, fix errors, or prepare your USB for a different type of device. Whether you're using a USB from cable USB suppliers or an old flash drive with usb 2 cables, this guide will help you do it the right way. We’ll walk you through every step in a way even a 12-year-old can follow.
What Does Reformatting a USB Mean?
When you reformat a USB, you’re cleaning the whole thing. It's like wiping a whiteboard. Everything on the drive gets erased, and you get a fresh start. This is great if your USB Device is acting strange, won’t open files, or you just want to reuse it. Reformatting also helps when your USB doesn’t work well with a new computer or gadget.
Why Would You Want to Reformat?
There are lots of good reasons to reformat a USB. Maybe you want to delete old school files, games, or videos. Maybe you bought it second-hand and want to start fresh. Or maybe it’s full of errors and just needs a reset. Reformatting helps your USB run faster and smoother, no matter where you got it—even from trusted cable USB suppliers.
Before You Start: Save Your Files
This is super important. Reformatting will delete everything on the USB Device. If there’s anything on it you want to keep—like photos, videos, or homework—copy those files to your computer or another USB. Once you reformat, you can’t get them back.
The Exact Answer: How to Reformat a USB?
To reformat a USB, plug it into your computer, open the USB folder, right-click the drive icon, choose “Format,” pick the file system (like FAT32 or exFAT), then click “Start.” It will delete everything and give you a clean USB.
Let’s break that down even more below so you understand each step.
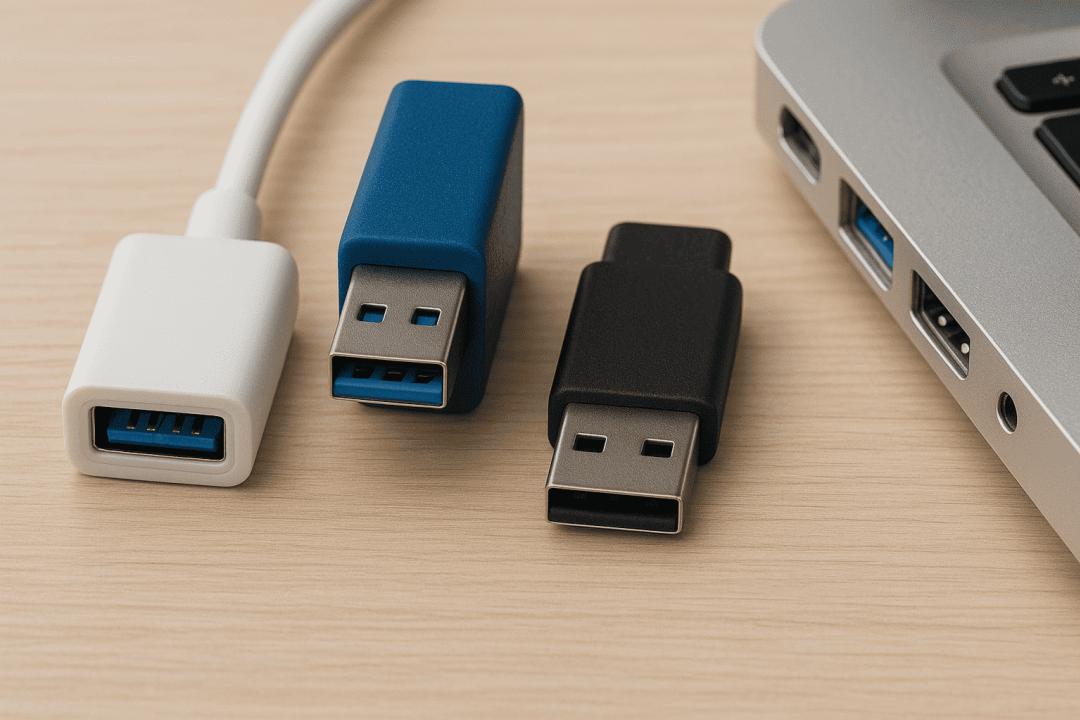
Step 1: Plug In the USB
Take your USB Device and plug it into a USB port on your computer. If you're using usb 2 cables or a USB 2.0 port, that’s fine. It still works the same way.
Your computer should notice it right away. A small window might pop up asking what you want to do. If not, don’t worry. You can find the USB manually.
Step 2: Find the USB Drive on Your Computer
If you’re on Windows:
Click on “This PC” or “My Computer”
Look for the USB Device under “Devices and Drives”
It might be called “Removable Disk” or show the name of the USB brand
If you’re on a Mac:
Open “Finder”
Look on the left side under “Locations”
Find the USB Device there
Step 3: Right-Click and Choose “Format”
On Windows, right-click the USB icon. A small menu will pop up. Click “Format.” This opens the reformatting window. On a Mac, you’ll need to open “Disk Utility” and choose the USB drive from the list, then click “Erase.”
Step 4: Pick the File System
Now you need to choose how the USB will be formatted. This is called a “file system.” The most common options are:
FAT32 – Best for smaller USBs, works on both Windows and Mac
exFAT – Works with bigger files, also works on both Windows and Mac
NTFS – Windows-only, not best if you use your USB on Macs too
If you’re not sure, just pick FAT32. It’s the safest option for most people using regular usb 2 cables or basic USB Devices.
Step 5: Start the Format
Once you’ve picked the file system, just click “Start.” Your computer will ask if you’re sure. Remember, this deletes everything. Click “OK” or “Erase” if you’re ready.
The formatting only takes a few seconds, maybe a minute if the USB is large. Once it’s done, you’ll get a message saying it’s complete.
Step 6: Use Your Fresh USB
Now your USB is like new. You can add files, save documents, or transfer videos. It should work faster and without errors. If you ever need to reformat again, just follow these same steps.
Can You Reformat Any USB Device?
Yes! Whether you got your USB from big cable USB suppliers or a small shop, you can reformat it. It works on flash drives, external hard drives, and even memory cards. Just make sure the device shows up on your computer when you plug it in.
Common Problems and How to Fix Them
The USB doesn’t show up – Try a different port or restart your computer.
Format button is greyed out – Close any files or folders open on the USB.
It says “Write Protected” – Some USBs have a tiny switch. Slide it to “off.”
It won’t format at all – Try using “Disk Management” on Windows or “Disk Utility” on Mac.
How to Keep Your USB in Good Shape
Always eject your USB before unplugging it
Don’t use it on dusty or wet places
Avoid pulling out the usb 2 cables too hard
Reformat once in a while to keep it clean
Only buy from trusted cable USB suppliers to get good quality devices
What Happens After Formatting?
Your USB will be totally empty, just like it was new. You can add fresh files, store photos, or use it for backups. If you formatted with FAT32 or exFAT, it will work on both Windows and Mac. If you picked NTFS, it’s better for Windows use only. Choose what fits your needs best.
Final Thoughts
Reformatting a USB isn’t scary—it’s smart. It helps keep your USB Devices running smooth and error-free. Whether you got your USB from local shops or reliable cable USB suppliers, knowing how to clean it up with a reformat can save time and fix problems. Just remember to save your files first, pick the right file system, and follow the steps carefully. Once you do it a couple of times, it feels super easy. And hey, you now know more than most people about keeping your usb 2 cables and devices in great shape!