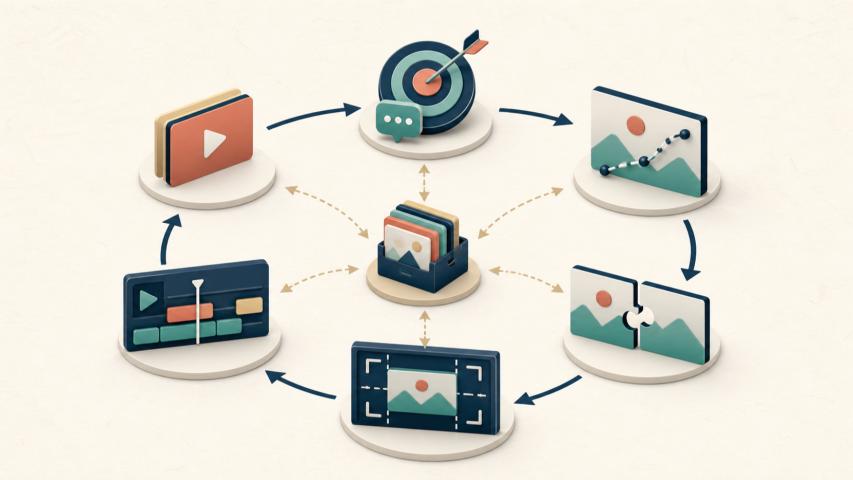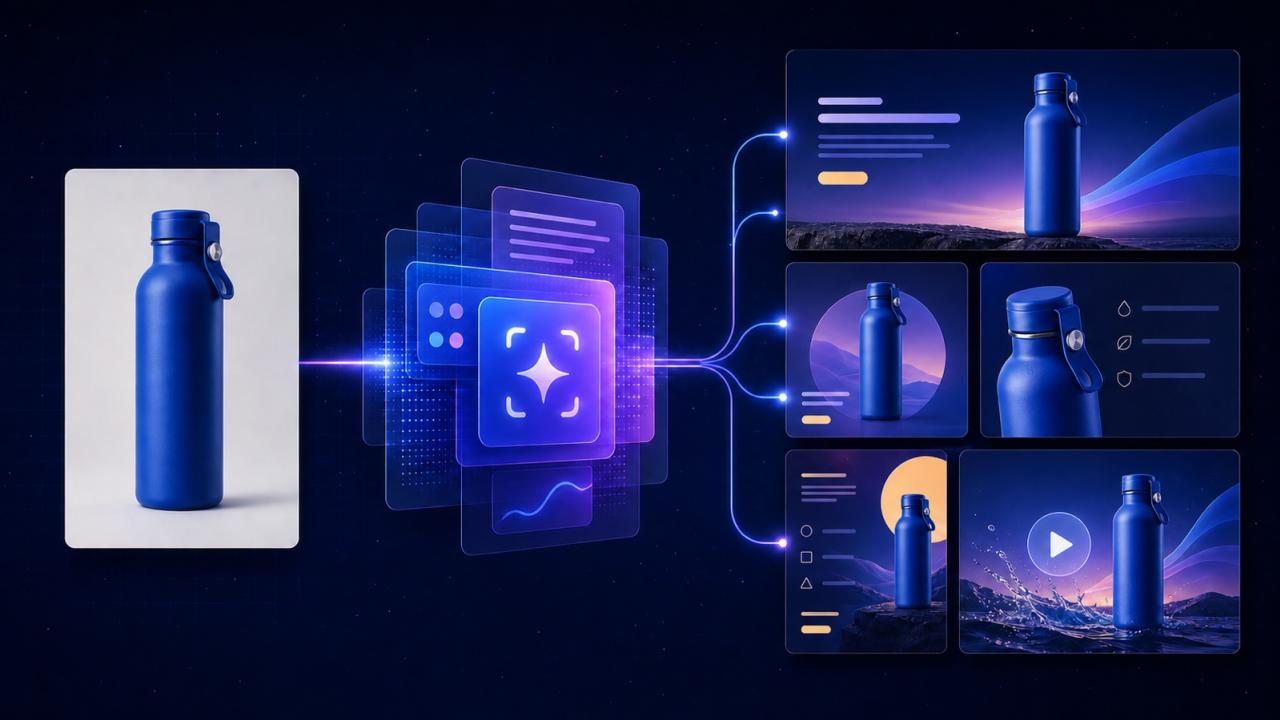
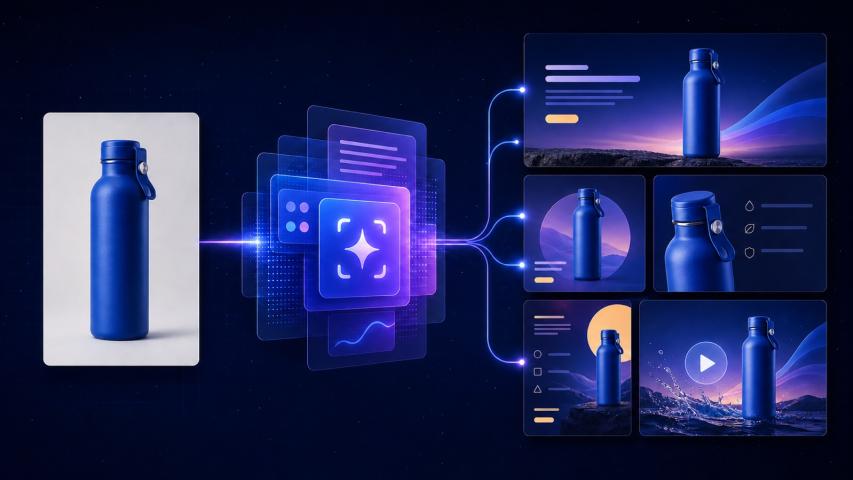
A startup launch rarely needs one image. The same product has to appear in a website hero, a social post, a feature card, a localized announcement, and perhaps the opening frame of a short video. Creating each asset from scratch is where visual consistency starts to break.
This free Seedream 5.0 Pro AI Generator workflow solves that production problem with one verified product reference, one visual brief, and five controlled outputs. “Free” refers to the workflow and prompt template in this article, not unlimited model usage.
Define the five-image launch kit before generating anything
The cheapest creative revision is the one a startup avoids. Before opening an image generator, decide exactly which assets the launch requires and what each one must accomplish.
A practical minimum kit contains:
- a 16:9 website hero with space for a headline and button;
- a 4:5 feature visual for feeds and product updates;
- a 1:1 social announcement that remains clear on mobile;
- a localized campaign card with room for short translated copy;
- a 16:9 first frame that can later lead into an AI-generated video.
These are not five unrelated designs. They should share the same product angle, lighting direction, background palette, and visual hierarchy. Only the crop, empty space, and supporting elements should change.
Write those rules into a one-page launch brief. It becomes the approval standard for every later output.
Why Seedream 5.0 Pro fits a controlled launch workflow
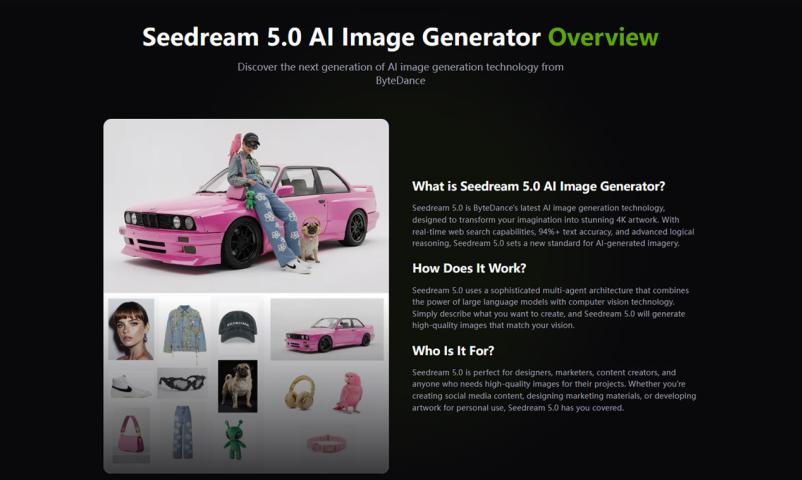
Seedream 5.0 Pro is useful here because the official model page describes reference-guided generation, precise regional editing, 2K output, native text in 14 languages, and reusable layer separation. Those capabilities map to practical launch work: preserving a product, adapting a composition, repairing one area, and preparing localized variants.
Disclosure: This article contains promotional links to Flyne AI. The workflow and quality-control method are original editorial material. Check current credits, terms, and commercial-use rules before generating.
The Seedream 5.0 Pro AI Generator on Flyne AI provides a browser workflow for prompts, references, aspect ratios, and resolution settings. Its page currently displays a Free Trial, but availability and credit conditions can change.
The model does not replace product approval. A reference-guided result can still alter a cap, label, material, proportion, or included accessory. Treat the real product photo as evidence and every generated image as a draft.
Step 1: create a product identity sheet
Start with a reference image that the startup owns or has permission to use. The product should be fully visible, evenly lit, and not obscured by a hand or prop.
Next, write a short identity sheet:
- exact silhouette and proportions;
- material and finish;
- primary and secondary colors;
- closure, controls, ports, or hardware;
- label position and approved wording;
- accessories that are included;
- details the model must never invent.
Keep factual product information separate from creative direction. “The bottle has a matte cobalt finish and a loop cap” belongs in the identity sheet. “Place it on a futuristic mountain at sunset” belongs in the launch concept.
This separation prevents an aesthetic request from quietly rewriting the product.
Step 2: approve one master launch image
Do not ask for all five assets in the first generation. Create one master 16:9 image, inspect it at full size, and approve it before adapting other formats.
Use this free master prompt template:
Use the uploaded product reference as the source of truth.

Create a 16:9 startup launch hero for [PRODUCT] aimed at [AUDIENCE].
Place the unchanged product in the [LEFT/RIGHT] third and reserve
clean negative space for a headline and CTA that will be added later.

Visual direction:
- background: [BACKGROUND];
- lighting: [LIGHTING];
- palette: [COLORS];
- mood: [MOOD];
- supporting element: [ONE OPTIONAL ELEMENT].

Product identity lock:
- preserve the exact silhouette, proportions, materials, colors,
  label placement, closure, controls, and included accessories;
- do not generate new text, logos, prices, buttons, claims, or badges;
- do not crop, duplicate, stretch, or redesign the product.

Output check:
- product remains fully visible;
- edges and contact shadow look natural;
- copy area stays uncluttered;
- composition remains readable at mobile thumbnail size.
Add the actual headline later in a layout editor unless generated text has been checked character by character. That keeps marketing copy editable and prevents a visually convincing spelling error from reaching the launch page.
Step 3: derive four assets from the approved master
Once the master passes review, use it as the visual reference for the remaining formats. Change one production variable at a time.
Website hero to vertical feature card
Adapt the composition to 4:5, keep the product scale and lighting, and move only background elements needed for the narrower frame. Leave room for one feature statement rather than compressing the entire landing page into an image.
Vertical card to square social announcement
Create a 1:1 version with a stronger central hierarchy. Check it at thumbnail size. If the product becomes secondary to the decorative background, simplify the scene instead of making the product larger than reality.
Approved visual to localized campaign card
Keep a text-safe region and export a clean base first. Add translated copy afterward, or use native text generation only for a short phrase that a fluent reviewer can verify. Never rely on the shape of unfamiliar characters as proof that the wording is correct.
Master image to video first frame
Return to 16:9 and design a frame with a clear foreground, midground, and background. Keep the product still and recognizable. Motion can be planned separately; the first frame should first work as a truthful product image.
This derivation method keeps the launch kit related without making every asset identical.
Step 4: repair selected areas instead of regenerating approved work
Full regeneration creates unnecessary risk. A new result may fix the background but change the product, crop, or lighting that the team already approved.
When one area is wrong, select it tightly and request one correction:
Edit only the selected area: [AREA].

Change: [ONE PRECISE CORRECTION].

Preserve everything outside the selection exactly, including product
shape, scale, material, color, label, closure, camera angle, lighting,
shadow direction, background palette, and composition.

Blend the repair with the existing texture, perspective, and depth.
Do not add text, logos, objects, reflections, or product features.
Save approved versions instead of overwriting them. If a repair affects an unselected product detail, return to the last approved file.
Keep the workflow low-cost without making price promises
“Low-cost” should describe a controlled process, not an unsupported price comparison. Provider credits, plans, retries, and output settings can change. A startup can still reduce waste by limiting what it generates.
Use three production rounds:
- Direction round: create a small number of master concepts and select one.
- Format round: derive only the five required launch assets.
- Repair round: correct selected areas without reopening the full concept.
Track generations, accepted outputs, repair attempts, and final assets. If the team produces dozens of attractive variations but approves only five, the problem is usually an unclear brief rather than a lack of model capability.
The goal is not the lowest generation count. It is the shortest path to five accurate, reusable assets.
Run a factual and visual launch check
Before publishing, compare every output with the real product and the launch brief.
Confirm that:
- silhouette, proportions, colors, materials, and hardware match;
- labels and short generated text contain no substitutions;
- props cannot be mistaken for included accessories;
- the product remains readable in the destination crop;
- negative space is large enough for real page copy;
- translated wording has been reviewed by a qualified speaker;
- no visual implies a feature, certification, result, or price the product does not have.
Keep at least one unedited product photograph wherever buyers need factual visual evidence. AI launch images can present a product, but they should not manufacture proof.
FAQ
Is this Seedream 5.0 Pro workflow free?
The workflow, master prompt, repair prompt, and checklist in this article are free to use. Generation access is separate. Flyne AI currently shows a Free Trial, while credits and terms may change.
Does a startup need five different prompts?
No. Approve one master visual direction, then adapt it with short format-specific instructions. Five unrelated prompts are more likely to produce five unrelated campaigns.
Should text be generated inside the image?
Only when the copy is short and someone can verify every character. For headlines, pricing, legal copy, and translations, a layout editor usually provides safer control.
Can generated launch visuals replace product photography?
Not completely. Use real photos for size, materials, colors, included parts, and other factual details a buyer needs to judge.
Conclusion
The best free Seedream 5.0 Pro AI Generator workflow starts with restraint: one verified reference, one approved master, four controlled adaptations, and a factual review before launch.
Founders can build the five-image launch kit with Seedream 5.0 Pro on Flyne AI, but the production discipline matters more than the number of outputs. Approve the product first, then scale the visual system.
When those five approved asset rules need to feed a repeatable production pipeline, review the related Seedream 5.0 Pro API route on Flaq AI. The browser workflow is the better place to settle the visual system; API automation becomes useful after the system is stable.
Sources