Summary: This blog post is your go-to resource for understanding how to manually convert your OST files to PST format using built-in Microsoft Outlook features. If you have active access to your Outlook account and prefer a solution without additional software, you're in the right place. We'll dive into the free, readily available methods to get your OST data into a portable PST file.
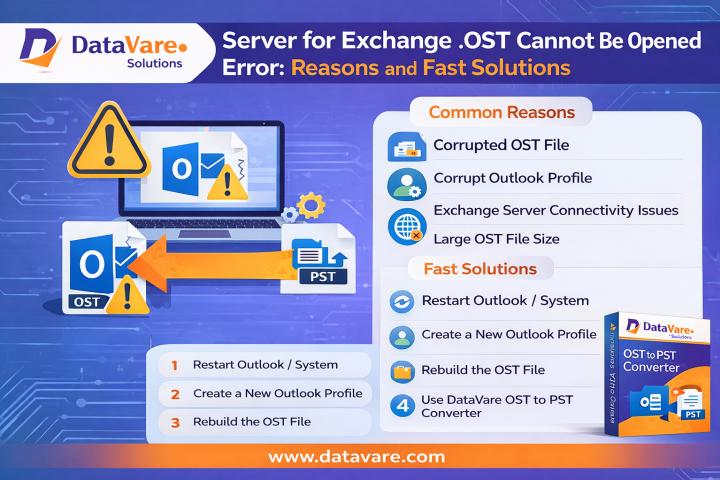
Microsoft Outlook creates Offline Storage Table (OST) files as local caches of your mailbox data. These handy files allow you to access your emails, contacts, and calendars even when you're offline. However, OST files are intrinsically linked to a specific Outlook profile. This means if that profile is deleted, Outlook is uninstalled, or the OST file itself becomes corrupted, accessing the stored data can become a challenge.
The most effective solution to regain access to data held within an OST file is to convert it into the Personal Storage Table (PST) format. PST files are highly portable and can be effortlessly imported into any Outlook account. This makes them an excellent choice for various purposes, including data backup, seamless migration, or critical data recovery.
When is Manual OST to PST Conversion the Right Choice?
There are several scenarios where manually converting an OST file to PST proves incredibly useful:
- If your Outlook profile gets deleted or corrupted, a manual OST to PST conversion can be a lifesaver for restoring your emails.
- For those who prefer to keep a local copy of their email data, manually exporting OST to PST ensures your valuable information is securely saved.
- When upgrading to a new computer, manually converting OST files to PST facilitates a smooth and easy migration of your email data.
- If you find Outlook sluggish or slow, exporting large OST files to PST can significantly free up storage space and boost its speed.
- If an OST file is no longer linked to an active email account, converting it to PST allows you to readily access its contents.
- If you're looking for a free solution and wish to avoid installing additional tools, manual methods offer a viable path for OST to PST conversion.
If any of these situations resonate with your current needs, mastering the manual OST to PST conversion techniques will be incredibly beneficial. Let's explore how to achieve this.
Free Ways to Export OST Files to PST: Top 3 Methods
If your Outlook is functioning correctly and you can access your OST file, you can leverage Outlook's built-in functionalities to export your data into PST format. Here are three effective manual methods you can try:
Method 1. Utilizing the Outlook Import/Export Option
This method is ideal when your Outlook profile is still active and accessible.
1. Launch Microsoft Outlook on your computer.
2. Navigate to the File menu and select Import/Export.
3. From the options presented, choose Export to a file and proceed.
4. Select Outlook Data File (.pst) and click Next.
5. Choose the specific folders you wish to export and click Next.
6. Specify your desired output location for the PST file and click Finish.
You're done! Your MS Outlook will now export the .pst file to your chosen destination.
Note: This method is not suitable for "orphaned" OST files – those that are no longer connected to a live Outlook profile.
Method 2. Drag and Drop Emails to a Newly Created PST File
This method offers a straightforward way to transfer specific items.
- Open Outlook and go to File > New Items > More Items > Outlook Data File.
- Create a new PST file and give it a recognizable name.
- Manually drag and drop the desired emails, contacts, and other mailbox items from your OST file directly into the newly created PST file.
Limitations: This method can be quite time-consuming, especially for large volumes of data, and doesn't facilitate bulk transfers efficiently.
Method 3. Archiving OST Emails to PST
This method automatically moves older emails from your OST file into a designated PST file.
- Open Outlook and navigate to File > Options > Advanced.
- Click on AutoArchive Settings.
- Select the folders you wish to archive and define a specific time range for the archiving process.
- Choose the destination location where you want to save the PST file and click OK.
Note: This method primarily archives old emails and does not transfer contacts or calendar entries.
Understanding the Limitations of Manual OST to PST Conversion
While manual methods are free and accessible, they come with certain limitations:
- Disconnected OST Files: If your OST file is no longer connected to Outlook, manual methods will not work.
- Outlook Configuration Required: All manual methods necessitate that Outlook is properly configured and active on your system.
- Time-Consuming for Large Data: Manually dragging, dropping, or exporting data can be incredibly time-intensive, particularly for mailboxes with a significant amount of data.
- Risk of Data Loss: If not executed with precision, there's a potential risk of losing important emails or attachments during the manual conversion process.
If your OST file is corrupted, orphaned, or if you simply don't have Outlook installed on your system, a reliable, automated tool becomes the ideal solution. In such cases, a professional solution like BitRecover OST to PST Converter can offer a hassle-free and efficient process.
Conclusion
For users seeking to convert OST to PST manually, we've explored the top three methods available. However, after evaluating these approaches, it's clear that manual conversion is feasible only under specific conditions. If your OST file is orphaned, inaccessible, or exceptionally large, manual methods will likely fall short. In these situations, an automated tool remains the most practical and effective solution.
Also Read: - PromoteProject - What Are the Emerging Careers in Data Analytics?