Combining screenshots, reference photos, receipts, or design drafts is a common task, but the usual workflow often creates unnecessary friction. A person opens a desktop editor, imports several files, adjusts the canvas, exports a result, and then removes the temporary project. Online editors can be faster, yet many send every source file to a remote processing server.
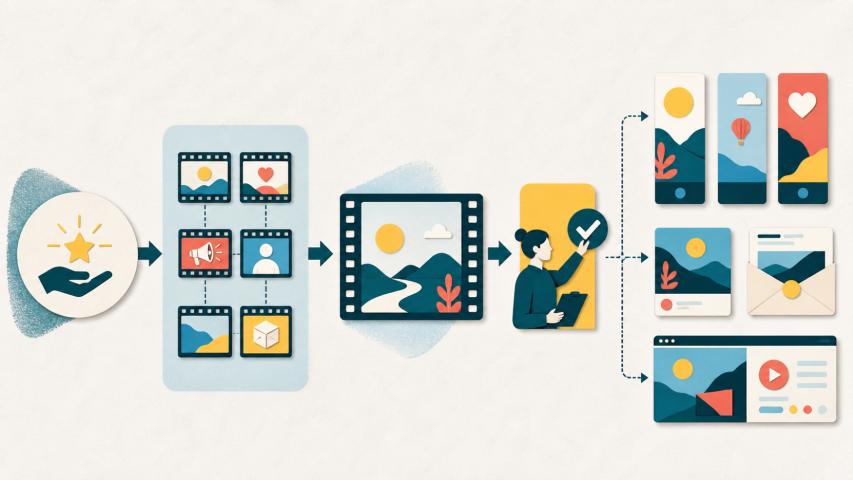
A browser-local workflow offers a useful middle ground. Modern browsers can decode, resize, position, and export images without requiring the original files to leave the device. This approach is especially practical for quick visual comparisons, documentation, support tickets, mood boards, and contact sheets.
Start with the final layout
Before selecting files, decide how the finished image will be used. A horizontal strip works well for before-and-after comparisons. A vertical stack is easier to read in documents and long-form posts. A grid is useful when several images deserve equal visual weight. Choosing the structure first reduces repeated resizing and prevents a finished image from becoming unnecessarily large.
Prepare source images consistently
Mixed dimensions are the main reason a merged image looks uneven. When files have different aspect ratios, decide whether to preserve the complete image with padding or crop each item to a consistent frame. For screenshots, preserving the full frame is normally safer because cropping can hide labels or interface details. For photographs, a controlled crop may create a cleaner grid.
It also helps to think about output scale. If the result is intended for a web page, presentation, or message, there is rarely a benefit in exporting a canvas much larger than the destination. A smaller, correctly sized result loads faster and is easier to share.
Keep sensitive material local
Browser-based tools are convenient, but privacy depends on how processing is implemented. A locally processed workflow uses browser APIs to transform the files on the device. That can be preferable for internal screenshots, identification documents, private photos, invoices, or unreleased product material.
MergeImage provides browser-based tools for arranging images into strips or grids, as well as cropping, resizing, compression, and format conversion. Its local-processing approach lets users complete common image tasks while retaining control of the original files.
Review the result before export
A short quality check prevents most mistakes. Confirm the reading order, look for clipped edges, and verify that important text remains legible. Check whether padding, background color, and spacing are consistent. If the output will be embedded in a document, preview it at the approximate display size rather than judging only at full resolution.
File format matters too. PNG is a reliable choice for screenshots, diagrams, and interface captures because it preserves sharp edges. JPEG is often smaller for photographs. WebP can provide a useful balance when the destination supports it. Compression should be applied after the layout is final so the image is encoded only once.
Use repeatable conventions
Small conventions make recurring image work much faster. Keep the same padding value across a project, use a predictable background color, and name exports according to their purpose. If a team prepares comparison images regularly, document the preferred grid, maximum width, and file format. Consistency is more valuable than adding decorative effects to every export.
The best image workflow is the one that removes unnecessary steps while preserving clarity and control. For many everyday tasks, a browser-local tool is enough to turn several source files into one clean, shareable result without installing a full editor or uploading sensitive material to another service.