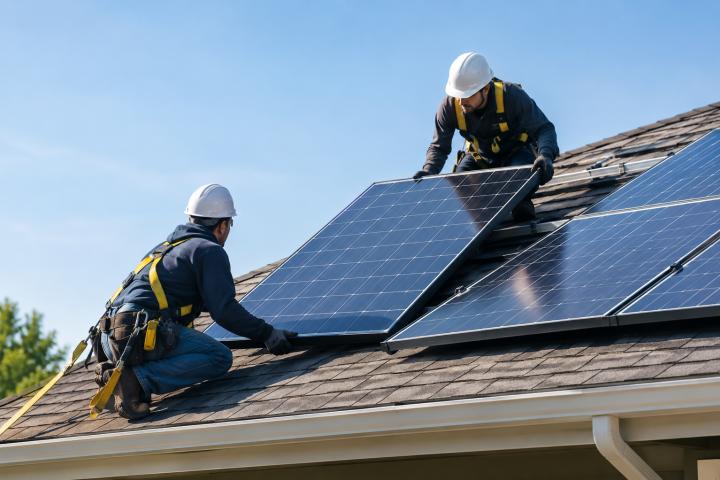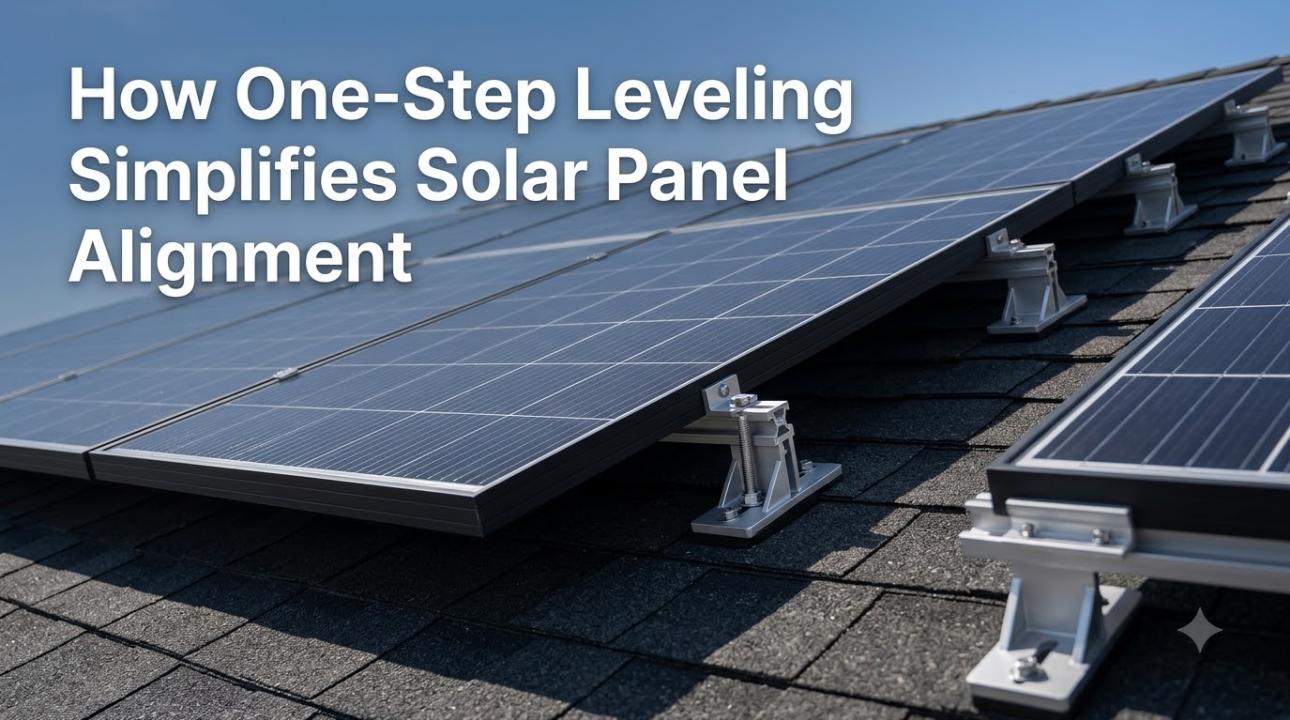
Installing solar panels involves more than placing modules on a roof and securing them in place. Each panel needs to sit in the right position, at the right height, and in line with the other panels in the array. Even small differences between mounting points can make alignment more difficult.
Roof surfaces can also have slight variations. A mounting system needs to account for these conditions while giving installers a practical way to position the panels correctly. This is where leveling becomes an important part of solar panel installation.
One-step leveling is designed to make this adjustment process easier. Instead of relying on several separate steps to correct mounting height, an adjustable mounting component can give installers a direct way to make corrections during installation.
For installers working with residential solar systems, this approach can be especially useful when setting up multiple panels in straight, consistent rows. It is also one of the features found in some rail less solar mounting systems designed to reduce the amount of mounting hardware used on the roof.
Why Solar Panel Alignment Matters
A solar array is made up of several individual panels that need to work together as one installation. For this reason, panel positioning matters from the first mounting point to the last.
Proper alignment gives the array a consistent appearance. When panels are installed at different heights or positions, the finished system can look uneven. Small differences may become more noticeable as more panels are added to a row.
Alignment also helps installers maintain consistent spacing between modules. Each mounting system has its own requirements for panel placement, clamps, fasteners, and spacing. Following those requirements is an important part of completing the installation correctly.
The first row is often especially important. If the first group of panels is not positioned correctly, the difference can carry through to the rest of the array. Installers may therefore spend time checking their reference lines and adjusting mounting points before moving on to additional rows.
A mounting system with a simple height-adjustment method can make these corrections easier to manage.
Common Challenges With Solar Panel Leveling
Uneven Roof Surfaces
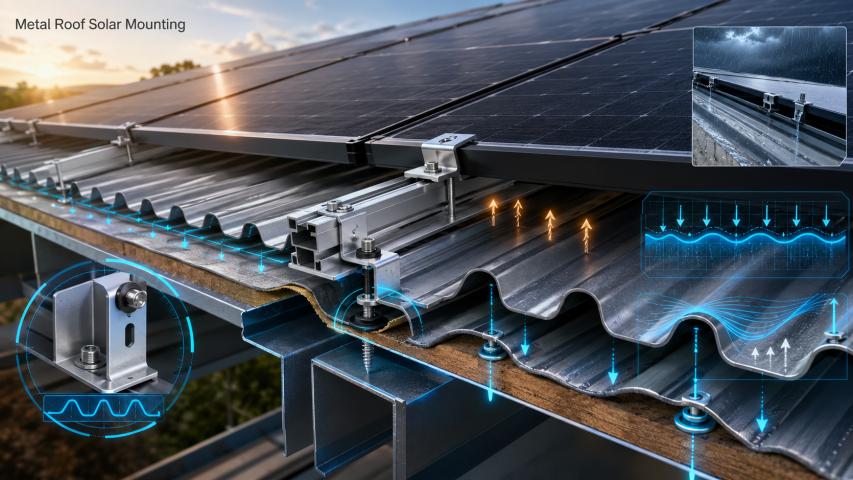
A roof may look flat from a distance, but its surface can contain small variations. Roofing materials, seams, structural differences, and other conditions can affect the position of mounting points.
These differences do not necessarily prevent a solar installation, but they can require adjustments during mounting.
If each mounting point needs to sit at a specific height, installers need a practical way to make those corrections without adding unnecessary work.
Keeping Rows Straight
A solar array often contains several panels positioned side by side. Keeping these panels in a straight line requires careful layout work.
Installers may use a string line or another reference method to establish the position of the first row. Once that reference has been established, the mounting points can be positioned and checked before the panels are secured.
A small error at the beginning can become more noticeable across a long row. This is why checking alignment during installation is important.
Adjusting Individual Mounting Points
Not every mounting point will necessarily require the same adjustment. Roof conditions can vary from one location to another.
If a mounting system does not provide an easy way to correct height differences, installers may need to spend additional time working around the issue.
An adjustable mounting component gives installers another way to address these small differences during the installation process.
Maintaining a Uniform Array
A well-aligned solar array has a consistent appearance. Panels should sit at similar heights and follow the intended layout of the mounting system.
Leveling is one part of achieving this result. It works together with proper layout, panel positioning, clamping, and fastening.
What Is One-Step Leveling in Solar Mounting?
One-step leveling refers to a mounting approach that allows installers to adjust the height of a mounting point through a direct adjustment mechanism.
The basic idea is simple. Instead of using several separate components or making repeated changes elsewhere in the installation, the mounting point itself provides a way to make a height correction.
This can be useful when a roof has small variations that affect mounting height.
For example, an installer may establish a reference line for a row of panels and find that one mounting location sits slightly higher or lower than the others. An adjustable mounting component can provide a way to correct that difference before the panel is secured.
The Roof Tech RT-APEX system is one example of a solar mounting system that incorporates one-step leveling. Its design includes an adjustable bracket arrangement that allows installers to make height adjustments during installation.
The purpose is not to remove the need for careful measurements. Instead, it gives installers a simpler method for making adjustments when they are needed.
How One-Step Leveling Simplifies Panel Alignment
Establishing the First Row
The first row provides a useful reference for the rest of a solar array. Installers can mark the mounting locations and establish a straight reference before placing the panels.
A string line is one common method for creating this reference. The mounting points can then be positioned in relation to the line.
With a system that provides height adjustment, installers can also make corrections to individual mounting points as they work along the row.
The RT-APEX installation guide describes using a string line when aligning the first row. This creates a reference that can be used when positioning the mounting hardware and panels.
Adjusting Mounting Height
Once the mounting points are positioned, the installer can check whether the components are sitting at the required height.
If a mounting point needs adjustment, an adjustable bracket or pillar can provide a direct method for making the change.
This is useful because roof conditions are not always identical across the entire installation area. Rather than treating every surface variation as a separate problem, the adjustment feature gives the installer a defined way to make corrections within the system's permitted range.
Aligning Panels Across the Array
After the mounting points have been adjusted, the panels can be positioned on the mounting hardware.
Keeping mounting heights consistent helps the modules sit in a more uniform arrangement. Installers can check the position of neighboring panels as they continue across the row.
This process is especially useful for larger arrays where small differences can become more visible over a longer distance.
Making Corrections During Installation
One advantage of an adjustable mounting system is that corrections can be made as part of the installation process.
If an installer identifies a height difference before final fastening, the mounting point can be checked and adjusted according to the manufacturer's instructions.
This approach can reduce the need to solve alignment problems through unrelated parts of the installation.
One-Step Leveling and Rail Less Solar Mounting
Rail less solar mounting systems use mounting components that attach modules without the traditional continuous rails used in many rooftop systems.
A rail-less approach can change how installers position and secure solar panels. Instead of installing long rails across the roof and attaching modules to them, the mounting system can use individual bases, brackets, clamps, and other components designed for direct module support.
One-step leveling can be a useful feature in this type of system because installers still need to account for differences in roof conditions and maintain consistent panel positioning.
The goal is not simply to remove rails. The mounting system still needs to provide the required structural support and follow the installation requirements for the roof, modules, and mounting components.
RT-APEX is an example of a rail-less residential PV mounting system that combines direct mounting components with one-step leveling. Its installation process includes positioning the mounting bases, aligning the first row, adjusting mounting height, and securing the modules according to the system instructions.
For installers, the value of a system like this comes from how its individual components work together during installation.
The Role of Mounting Hardware in Panel Alignment
Leveling does not happen through one component alone. Several parts of a mounting system contribute to the final position of the solar modules.
These can include:
Mounting bases
Adjustable brackets
Pillars or supports
End clamps
Mid clamps
Fasteners
Splices or related connection components, depending on the system
Each component has a specific role.
The base provides the connection to the roof. Adjustable components can provide height control. Clamps hold the module frame in position. Fasteners secure the components according to the manufacturer's requirements.
When these parts are designed to work together, installers have a defined process for positioning the modules.
It is important to follow the mounting manufacturer's instructions for component placement, adjustment limits, fastening, and torque values. These details can vary between mounting systems.
A Simple Workflow for Better Panel Alignment
A practical installation process can help installers identify alignment issues before they become larger problems.
1. Plan the Panel Layout
Start by reviewing the roof area and deciding where the panels will be placed. The layout should account for the module dimensions, mounting locations, roof conditions, and system requirements.
2. Mark Mounting Locations
Mark the locations where the mounting bases will be installed. Accurate positioning at this stage helps create a consistent foundation for the array.
3. Install the Mounting Bases
Install the bases according to the mounting system's instructions. Roof attachment details can vary based on the roofing material and mounting design.
4. Establish a Reference Line
Use a string line or another suitable reference method to establish the intended position of the first row.
5. Check the Mounting Points
Compare the mounting points against the reference line and check their relative height.
6. Adjust Where Needed
Use the system's adjustment mechanism to correct mounting height where required. Stay within the adjustment range specified by the manufacturer.
7. Install the First Row
Position the panels and check their alignment before moving through the remaining sections of the array.
8. Check Panel Spacing
Review the spacing between neighboring modules and follow the module and mounting-system specifications.
9. Continue With the Remaining Rows
Once the initial row is properly positioned, continue with the remaining panels while checking alignment as the installation progresses.
10. Complete the Final Checks
Before finishing the installation, inspect the panel layout, mounting components, fasteners, clamps, and other required details.
This type of workflow helps make alignment part of the installation process instead of leaving every correction until the end.
Benefits of Simplified Solar Panel Leveling
A More Consistent Panel Layout
A direct adjustment method can help installers maintain similar mounting heights across a row of modules.
Easier Height Corrections
When roof conditions create small height differences, an adjustable mounting component provides a defined way to make corrections.
Fewer Complicated Adjustments
A system designed around direct height adjustment can reduce the number of separate steps needed to address a mounting-height difference.
Cleaner Finished Appearance
Consistent panel positioning can contribute to a more uniform appearance across the completed array.
A Repeatable Installation Process
A clear leveling method can make the alignment process easier to repeat across different sections of a rooftop installation.
These benefits depend on correct installation and proper use of the mounting system. Leveling is only one part of the overall installation process.
What Installers Should Check Before Finalizing Alignment
Before completing a solar installation, installers should review several details rather than focusing on panel height alone.
A basic alignment check can include:
Are the panels following the planned row layout?
Are neighboring panels sitting at consistent heights?
Are module gaps within the specified limits?
Are mounting components positioned correctly?
Are adjustable components within their allowed adjustment range?
Are clamps installed in the correct locations?
Have fasteners been tightened to the manufacturer's specified torque?
Does the finished installation follow the module manufacturer's requirements?
Does the mounting system installation match its published instructions?
These checks help separate the leveling process from the rest of the installation requirements.
An adjustable mounting system can make height corrections easier, but it does not replace proper measurements, structural requirements, fastening procedures, or installation checks.
Where One-Step Leveling Fits Into Solar Mounting
Solar mounting systems continue to use different approaches for securing panels to rooftops. Traditional rail-based systems remain common, while rail-less designs provide another option for certain residential installations.
The choice of mounting system depends on several factors, including the roof type, module specifications, structural requirements, installer preferences, and project conditions.
One-step leveling addresses a specific part of this process: mounting height and panel alignment.
For installers, a useful mounting system is one that provides clear instructions and practical ways to deal with conditions found during installation. A height-adjustment feature can be one part of that approach.
RT-APEX combines a rail-less mounting design with features such as one-step leveling, adjustable mounting components, and module clamping. These features are intended to work together as part of the installation process.
The system should still be installed according to the manufacturer's current technical documentation and the requirements of the specific project.
Final Thoughts
Solar panel alignment may seem like a small part of a rooftop installation, but it can have a noticeable effect on the consistency of the finished array. Roof surfaces can have small variations, and installers need practical ways to account for them while keeping the panels properly positioned.
One-step leveling provides a direct method for making mounting-height adjustments. When combined with a clear layout process and accurate reference lines, it can make panel alignment easier to manage during installation.
Rail less solar mounting systems can also incorporate this type of adjustment into their design. Rather than relying on long rails, these systems use dedicated mounting components to support and position the modules.
The key is to treat leveling as one part of a larger installation process. Careful layout, correct mounting locations, proper panel spacing, fastening, and final checks all remain important.
For any mounting system, installers should follow the latest manufacturer instructions and the requirements that apply to the specific solar project.