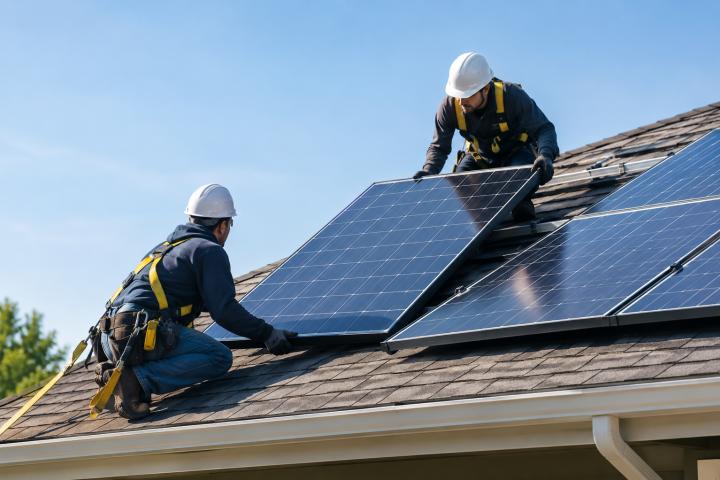
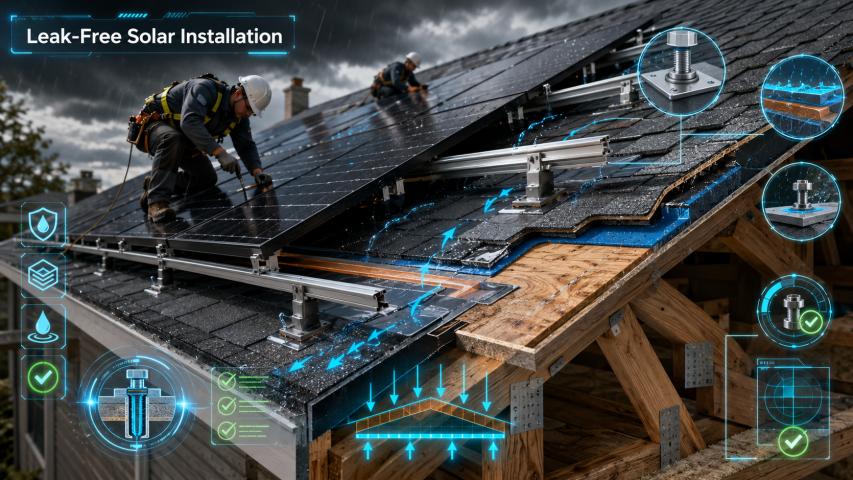
Nobody signs up for solar to end up with a water stain on the living room ceiling. But that's exactly what happens on a small percentage of rooftop systems, usually within the first two rainy seasons after installation. The panels themselves rarely fail. The problem almost always traces back to how the mounting hardware penetrated the roof, and whether that penetration was sealed correctly. Getting a leak-free solar installation right isn't about luck. It's about following a sequence of steps that roofers and structural engineers have refined over two decades of rooftop solar deployment.
This article walks through the technical decisions that separate a watertight system from a callback waiting to happen: penetration placement, flashing sequencing, sealant selection, and the load calculations that keep hardware from working itself loose over time.
Why the Installation Process Determines Leak Risk
Every roof penetration is a deliberate trade-off. You're creating a hole in a waterproof membrane to anchor hardware that has to resist wind uplift, snow load, and thermal cycling for 20 to 25 years. If the penetration is placed, flashed, or sealed incorrectly, water finds its way in eventually, often along a path that has nothing to do with where the leak eventually shows up indoors.
This is why a documented solar installation process guide matters more than any single product choice. Sealant quality can't compensate for a mount placed in the wrong spot on a shingle course, and a premium flashing kit won't help if it wasn't shingled in properly during installation. The sequence of operations, not any individual component, is what determines whether the roof stays dry.
Roof Attachment Methods and Their Waterproofing Implications
Two general categories of solar mounting exist, and each carries different waterproofing considerations.
Rail-based systems: They use standoffs or L-feet bolted through the roof deck into rafters or trusses, spaced according to the rail manufacturer's engineering specifications. Each standoff is a single penetration point that needs individual flashing.
Railless (direct-attach) systems: They attach panels directly to roof brackets, usually reducing penetration points compared to a rail layout. Fewer penetrations mean fewer failure points, but each still needs proper flashing, as railless doesn't remove waterproofing.
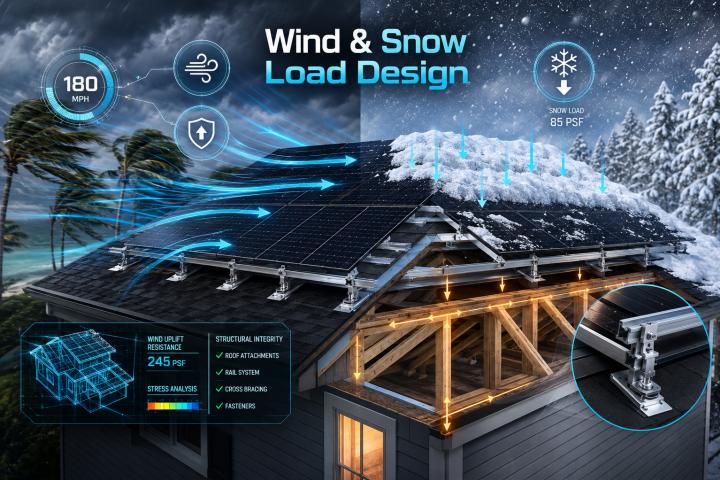
Regardless of which method is used, attachment points should land over rafters or structural framing whenever possible, not just decking. This isn't only a waterproofing consideration. Structural attachment is what allows the mount to carry wind and snow loads without pulling loose, which in turn is what keeps the flashing seal intact over time.
Flashing: The Actual Waterproofing Layer
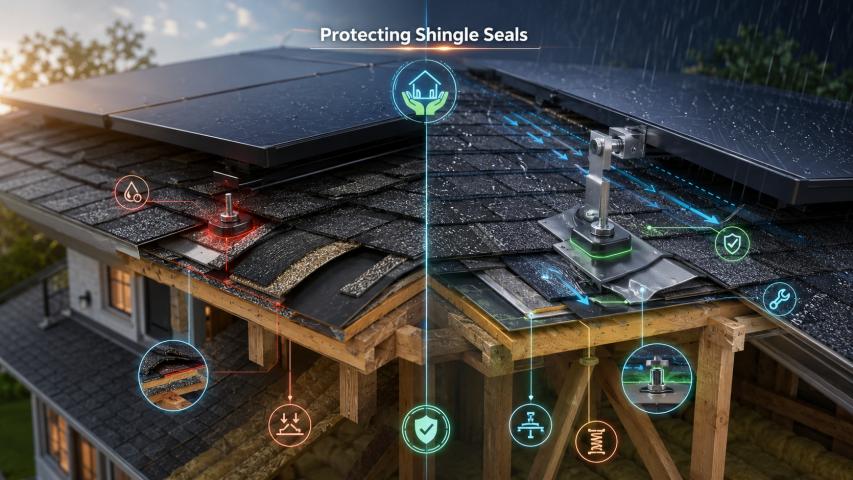
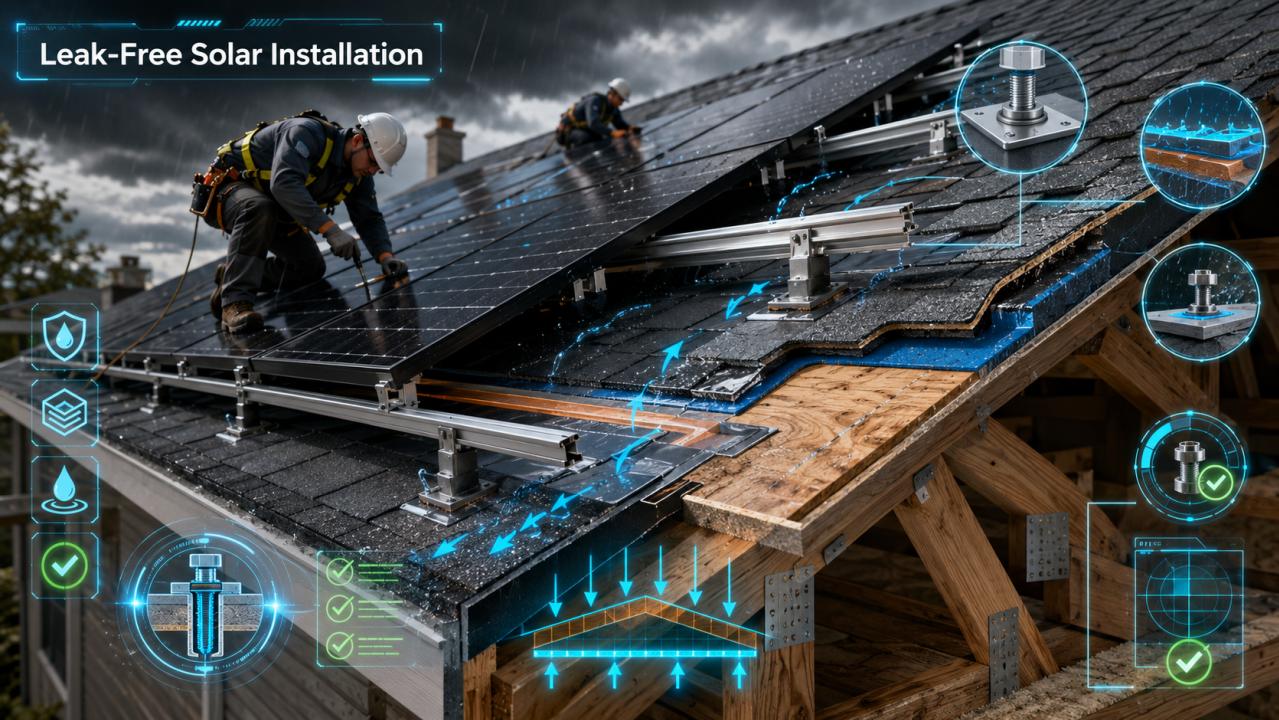
Sealant is not the primary waterproofing strategy. Flashing is. A properly installed flashing plate redirects water around the penetration using gravity and shingle overlap, the same principle used for any roof vent or chimney flashing.
The standard sequence for asphalt shingle roofs:
Cut and lift the shingle course above the planned attachment point
Drill the pilot hole and drive the lag bolt into structural framing
Slide the flashing under the course above and over the course below, following the same shingle-over-shingle logic used elsewhere on the roof
Apply sealant at the bolt head and around the flashing edges as a secondary barrier, not the primary one
Re-lay the disturbed shingles and confirm nail lines weren't compromised
Metal and tile roofs use different flashing geometries. Metal panel roofs generally require a boot or a manufacturer-matched flashing that seals against the panel's rib profile. Tile roofs need a flashing designed to sit under the tile course with enough clearance to avoid cracking adjacent tiles during installation.
Sealant Selection and Application
Sealant should be treated as a backup layer, not the waterproofing method itself. That distinction matters because sealants degrade with UV exposure and thermal cycling, typically needing inspection or reapplication well before the panels reach end of life.
Common choices include:
Butyl-based sealants, which stay flexible across a wide temperature range and are commonly specified under flashing plates
EPDM (ethylene propylene diene monomer) washers and boots, valued for UV resistance and long-term elasticity at bolt penetrations
Polyurethane sealants, used where higher adhesion strength is needed, though they cure more rigid than butyl over time
Whatever product is used, it needs to be compatible with the roofing material itself. Some sealants that work fine on asphalt shingles can degrade certain single-ply membrane roofs (like TPO or PVC) on chemical contact, so material compatibility should be confirmed before application, not assumed.
Structural Load Considerations
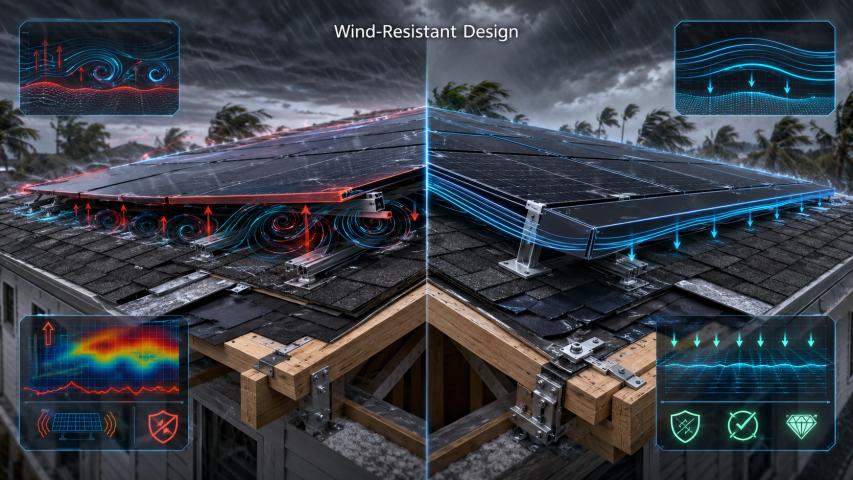
Wind uplift and snow load calculations aren't a formality. They determine attachment spacing, which directly affects how many penetrations the roof has and how much stress each one carries.
Attachment spacing follows ASCE 7 wind and snow load standards, adjusted for location, roof height, and exposure. U.S. mounting hardware should have an ICC-ES evaluation report (like AC428 for rooftop solar systems) that shows tested load capacity.
Undersized attachment spacing is a common and preventable mistake. It doesn't cause an immediate leak, but it lets hardware flex slightly under load over repeated wind and thermal cycles, which gradually breaks the seal at the penetration point even if the flashing was installed correctly on day one.
Corrosion Resistance and Long-Term Sealing Performance
Galvanic corrosion is a slower threat to leak-free performance, but a real one. When dissimilar metals contact each other in the presence of moisture, such as an aluminum mounting rail against a steel fastener, one metal corrodes faster than it would on its own. Over years, this can loosen hardware or degrade the metal around a sealed penetration.
Standard mitigation includes:
Using stainless steel fasteners rated for the specific metal they're contacting
Installing isolation washers or barriers between dissimilar metals
Selecting mounting hardware with a corrosion-resistant coating appropriate for the roof's coastal or high-humidity exposure
Common Mistakes That Lead to Leaks
Placing lag bolts in decking only, without structural framing beneath
Skipping the shingle-over-shingle flashing sequence and relying on sealant alone
Using a sealant incompatible with the roofing membrane
Under-spacing attachments relative to the site's actual wind and snow load exposure
Failing to inspect and refresh sealant at the manufacturer-recommended interval
Conclusion
A leak-free solar installation comes down to a handful of decisions made correctly, in the right order: structural attachment, correct flashing sequencing, compatible sealant as a backup layer, and load calculations that keep hardware from working loose. None of these steps are exotic. They're standard roofing and structural practice applied to a solar-specific penetration. Installers and homeowners who understand this sequence are in a much better position to evaluate a proposed installation, ask the right questions, and catch a shortcut before it becomes a ceiling stain two winters later.
Frequently Asked Questions
1. Does solar panel installation always require roof penetrations?
Most rail and railless mounting systems attach through the roof into structural framing to resist wind uplift and snow load. Some ballasted systems on flat commercial roofs avoid penetrations with weighted mounts, but this isn't common on sloped residential roofs.
2. How long does flashing on a solar mount typically last?
Properly installed metal flashing typically lasts as long as the roofing, often 20+ years, since it's passive waterproofing, unlike sealant which requires earlier inspection.
3. Can solar panels be installed on an older roof without causing leaks?
Yes, provided the roof's remaining service life and structural condition are assessed first. Installing on a roof nearing the end of its lifespan often means the roofing will need replacement before the solar system, requiring removal and reinstallation, an extra cost to consider.
4. What roof types are hardest to waterproof for solar mounting?
Tile roofs need special care because flashing must fit without cracking tiles, and standard shingle flashing kits aren't suitable. Low-slope membrane roofs (TPO, PVC, EPDM) also need careful sealant choice, as some can damage membranes.