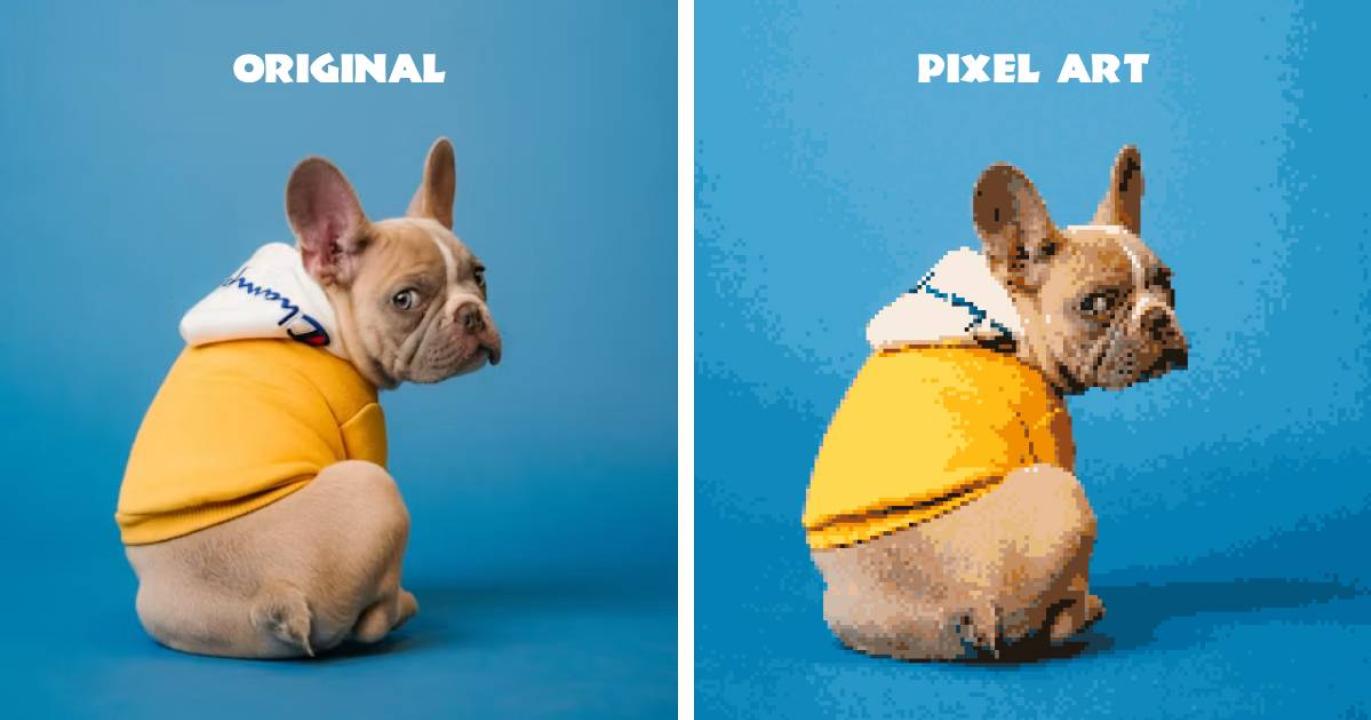
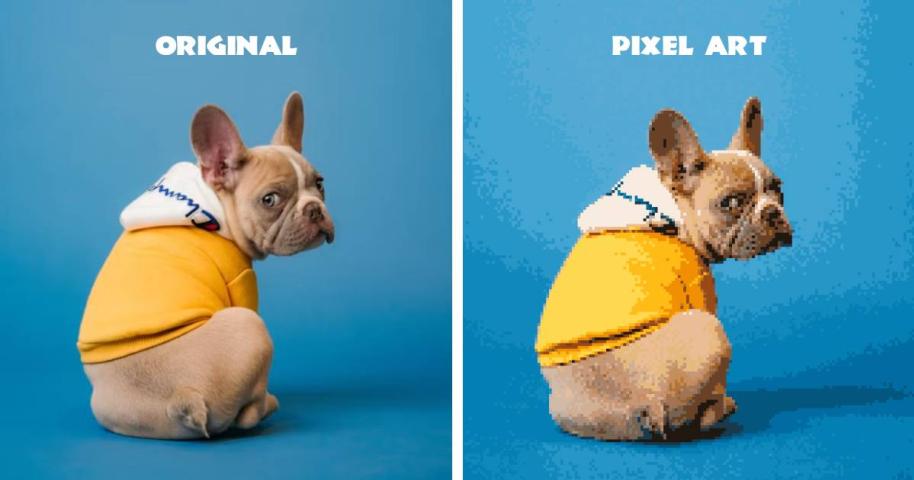
Pixel art has gone from a hardware limitation of 1980s consoles to a a >Image to Pixel Art Converter, you can turn any picture or photo into pixel art in under a minute, and your image never leaves your device.
In this guide we'll walk you through the process of converting images into pixel art (step by step) and explains which settings matter most for the best results.
What You Need?
Very simple! Just an image (PNG, JPG, WebP, or GIF) and a web browser. There's nothing to install, no account to create, and you can download your pixel art images without watermarks.
Step 1: Pick the Right Image
The original image has more impact on the result than any setting and that's why you should choose it carefully.
- Go for clear subjects. Portraits, single objects, logos, and simple landscapes convert very well.
- Look for good contrast. Busy or low contrast photos often tend to look muddy when they're been pixelated.
- Simplify if needed. Cropping in on your subject or removing clutter before you upload can make a big difference.
Now let's move to the actual steps.
Step 2: Upload Your Image
Open the pixel art converter and drag your image into the upload area, or click to browse your files (if you just want to see how it works first, you can try one of the built-in example images).
Step 3: Set the Pixel Size
After uploading your image to the tool, you need to choose the pixel size on the pixel slider as it's the most important control. It decides how chunky or fine your pixel art looks.
- Small values keep more detail and give a subtle pixelated effect.
- Large values create bold, blocky results with a strong retro feel.
However, for portraits and face pictures, it's better to start small so features stay recognizable, and for sprites, icons, and backgrounds, chunkier pixels usually look more authentic. Try a few values and compare since the right size depends on the image.
Step 4: Choose Sharp or Smooth Sampling
This setting will control how colors are picked for each pixel block. Let me explain more:
- Sharp takes colors without blending, giving a crisp, graphic look with hard edges.
- Smooth blends neighboring colors first, giving softer transitions and a slightly antialiased feel.
Note: sharp is closer to classic pixel art and smooth works well for photos of people and animals where you want to keep some softness.
Step 5: Apply a Retro Palette
Want that old console look? Then apply a palette like DMG (the greenish Game Boy >
You can also use the Colors slider to reduce the number of colors in your image, and the more fewer colors you choose the more image feel like bold, poster-like result, while more colors stay closer to the original photo.
Step 6: Fine-Tune Brightness, Contrast, and Saturation
These sliders adjust the image before it's pixelated. Fine tonal detail gets lost when an image is shrunk into blocks so a small boost to contrast or saturation often makes the final result clearer and punchier. So if your final result looks flat or muddy, then this is the first place to look.
Step 7: Turn On the Pixel Grid (Optional)
The pixel grid overlay draws thin lines between each block and it's useful if you plan to recreate the artwork by hand in a sprite editor, since you can see exactly where each pixel begins and ends.
Step 8: Download Your Pixel Art
Finally, choose your export size and format then click Download. You can choose from:
- Small: the true pixel grid with no upscaling and it's ideal for game development and editing in a sprite tool.
- Medium and Large: are upscaled versions that stay sharp and thei're good for sharing and printing.
- Original: upscaled to match your uploaded image's exact dimensions.
You can save your pixel art image as a PNG, JPEG, or WebP file. My advice is to choose PNG because it's the safest choice for pixel art because it keeps edges perfectly crisp.
Quick Tips for Better Results
- Preview a few pixel sizes and the best one is rarely the first one you try.
- Boost contrast before you pixelate especially for photos with soft lighting.
- Use fewer colors for a stronger >
- Export at Small size if you need a clean base for further editing.
- Try different palettes. The same image can look completely different in DMG/sepia.
What You Can Make With It
- Game sprites, tiles, and backgrounds for 8-bit >
- Profile pictures and avatars for social media and gaming communities
- Pixel portraits of pets, friends, or family for gifts, prints, and stickers
- Reference images for hand-drawn pixel art
Final Thoughts
Converting an image to pixel art really comes down to three choices: a good source image, the right pixel size, and a palette that suits the mood. Once you understand those, you can get great results in seconds. Ready to try it? Head over to the free Image to Pixel Art Converter and turn your first photo into pixel art.